The Tempest was flown by Wing Commander Roland Prosper ‘Bee’ Beamont, No. 150 Wing, Newchurch, Kent, England, June 1944.
The Tempest was flown by Wing Commander Roland Prosper ‘Bee’ Beamont, No. 150 Wing, Newchurch, Kent, England, June 1944.

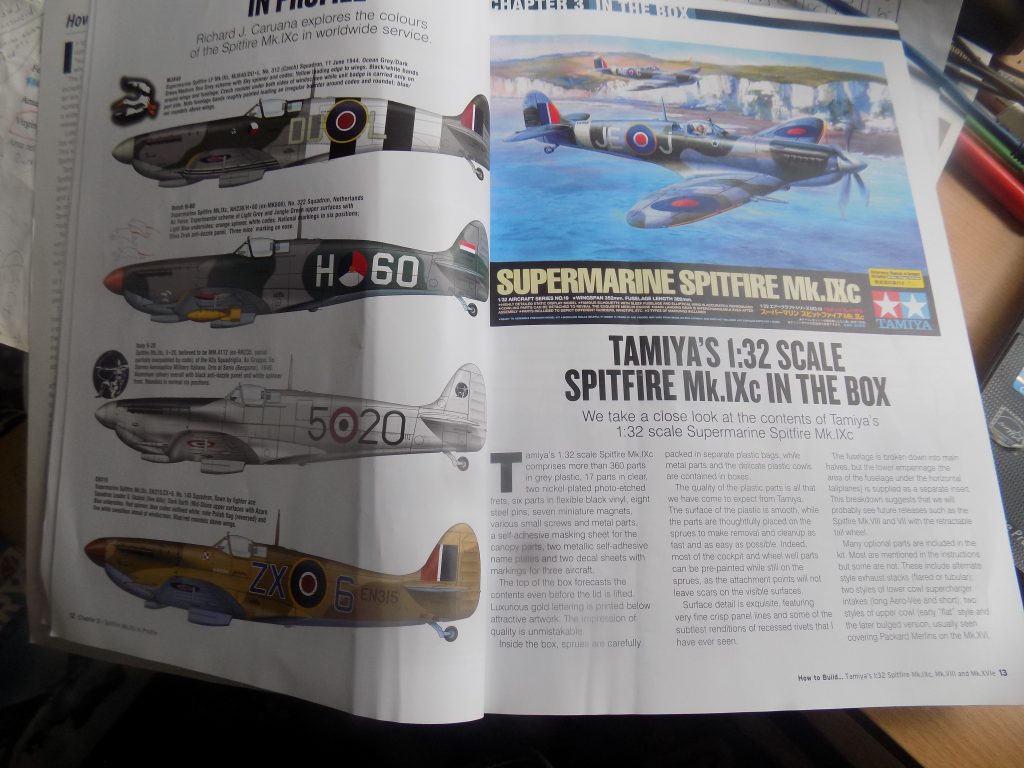
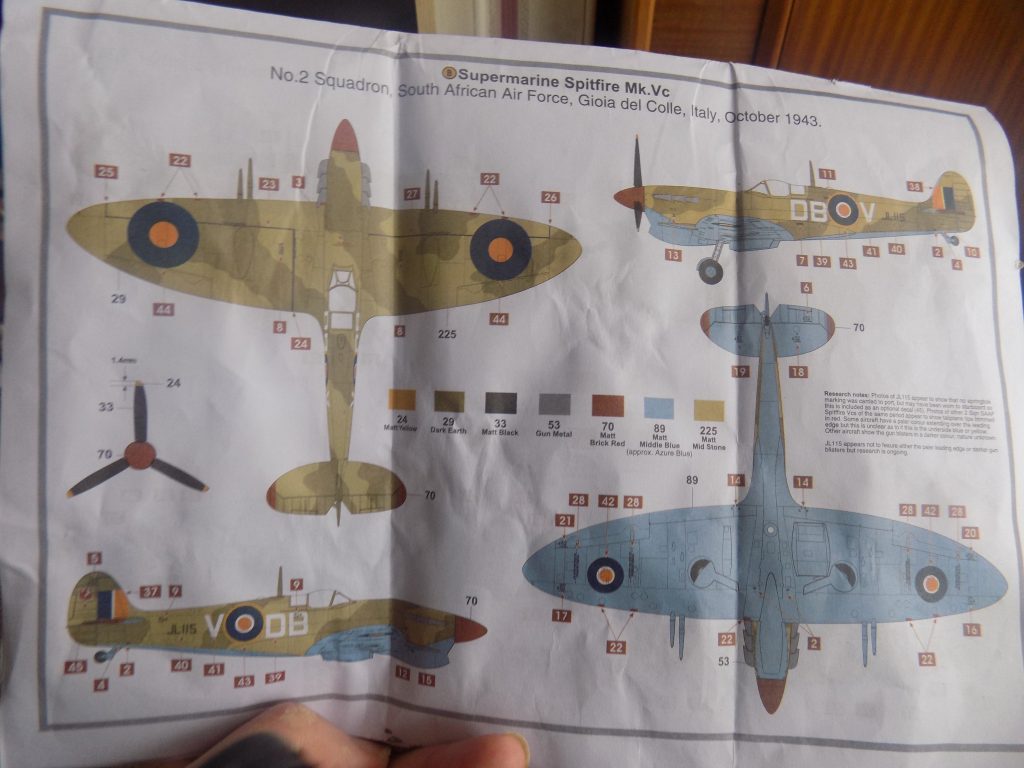
No. 60 Squadron South African Air Force, Foggia, Italy, January 1945.
This was the most effective photo reconnaissance aircraft of the time and because of their speed could not be challenged by the Luftwaffe until the introduction of rocket and jet-powered aircraft.


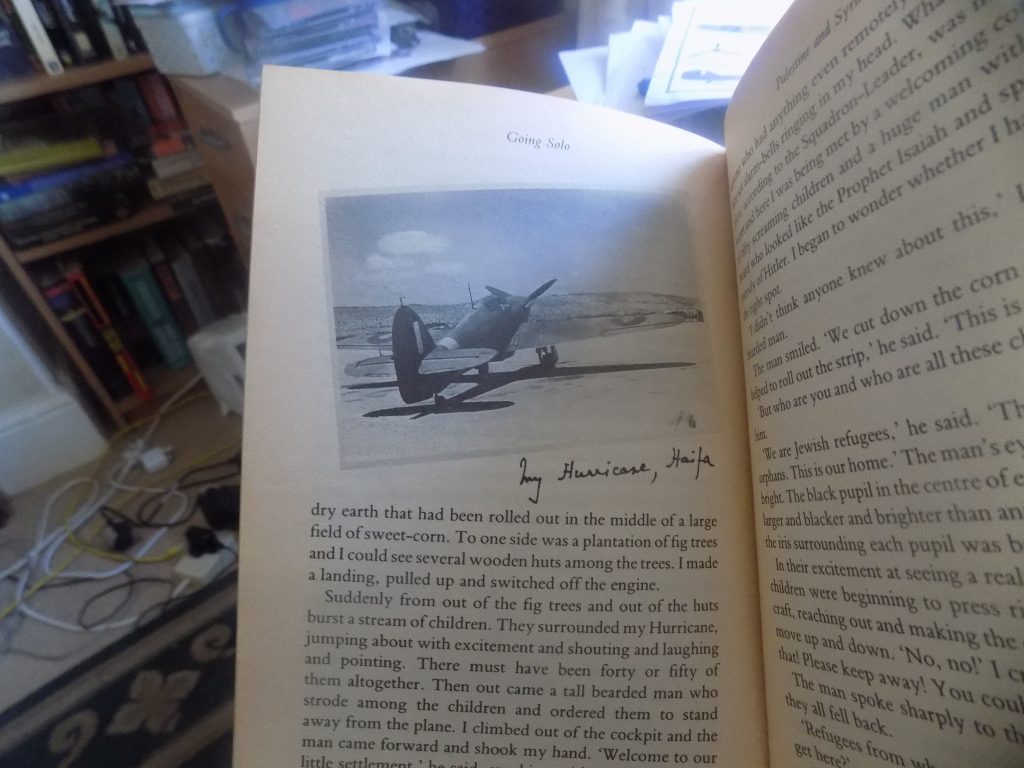
The Hurricane was getting towards obsolescence by the start of WW2, but this tough, partly fabric covered aircraft played a crucial role in the early part of the war and went with the BEF to France in early 1940. We all remember the scene of them getting shot up at the start of the movie ‘Battle of Britain‘, shown elsewhere on my site.
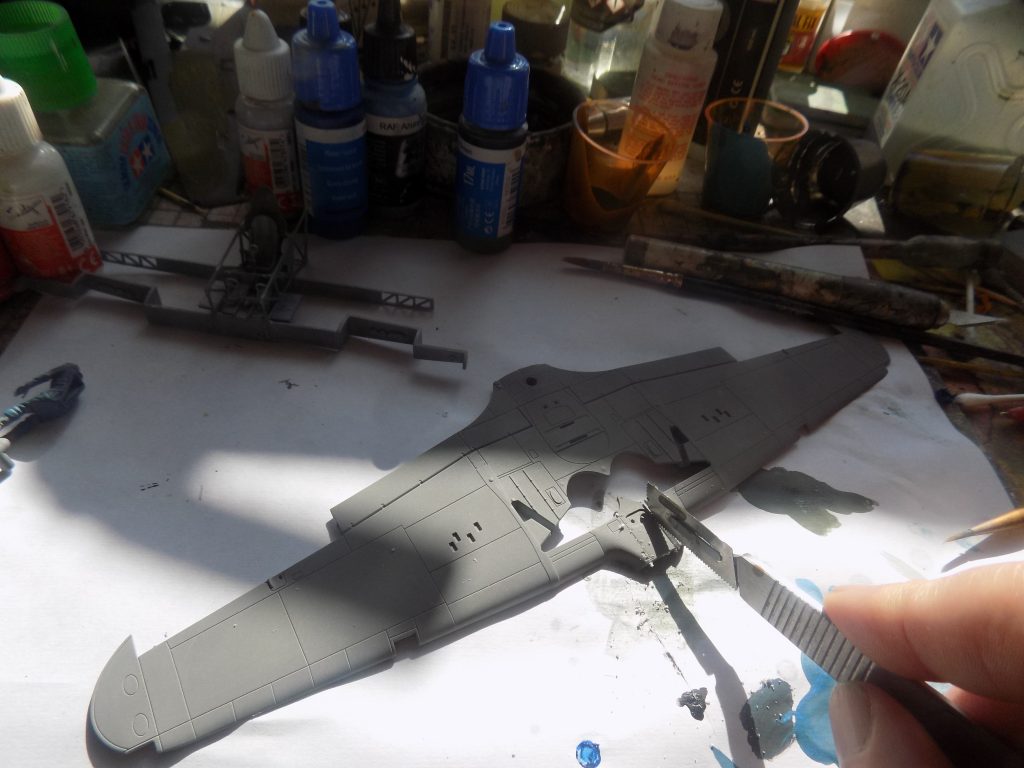
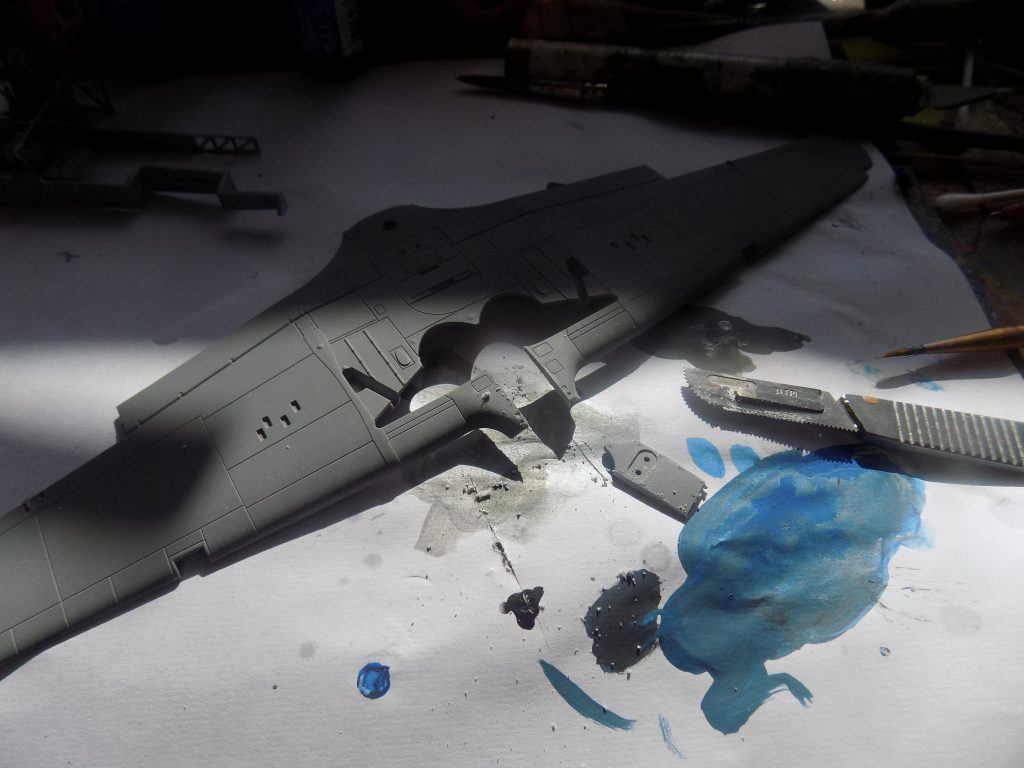
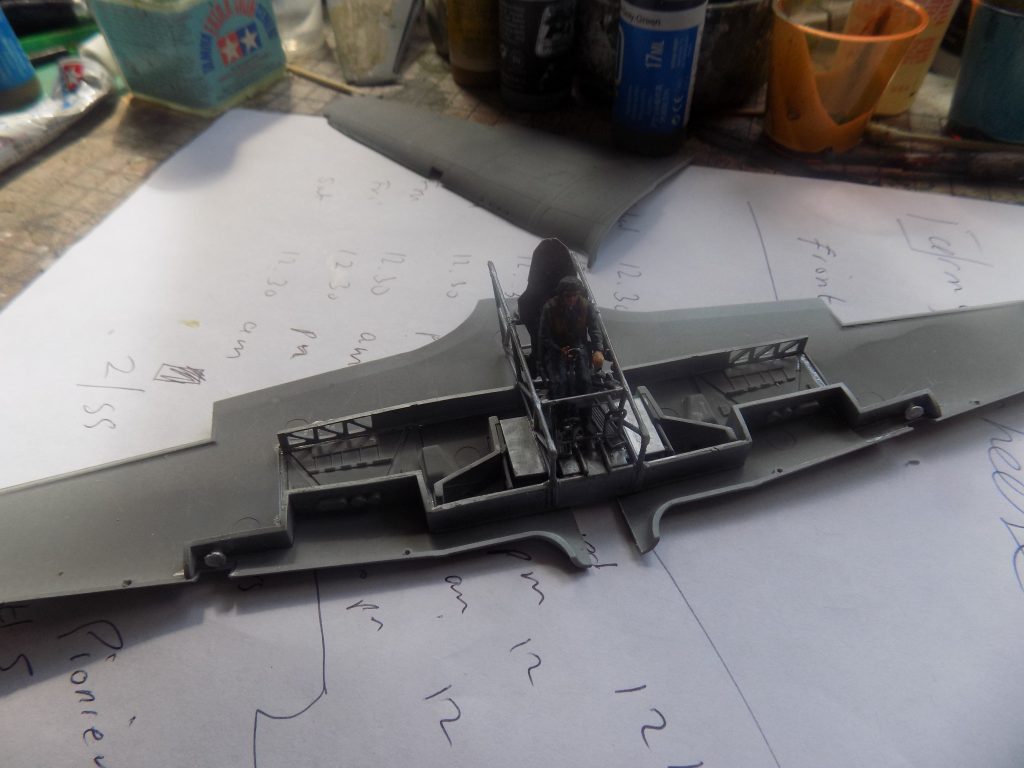
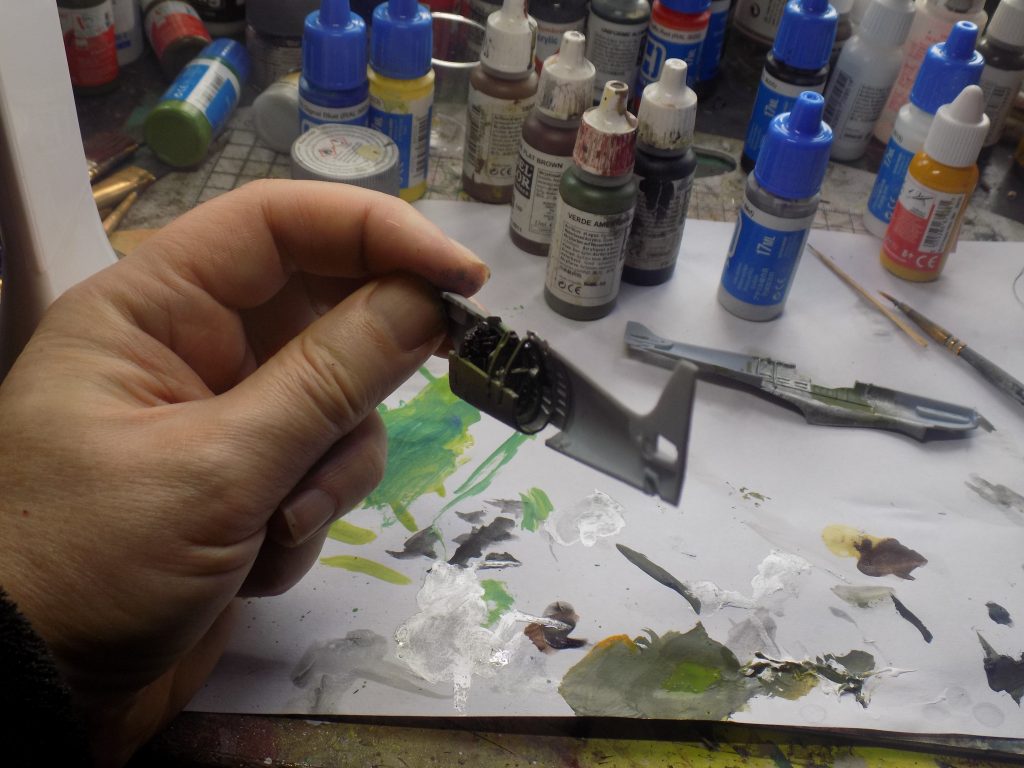
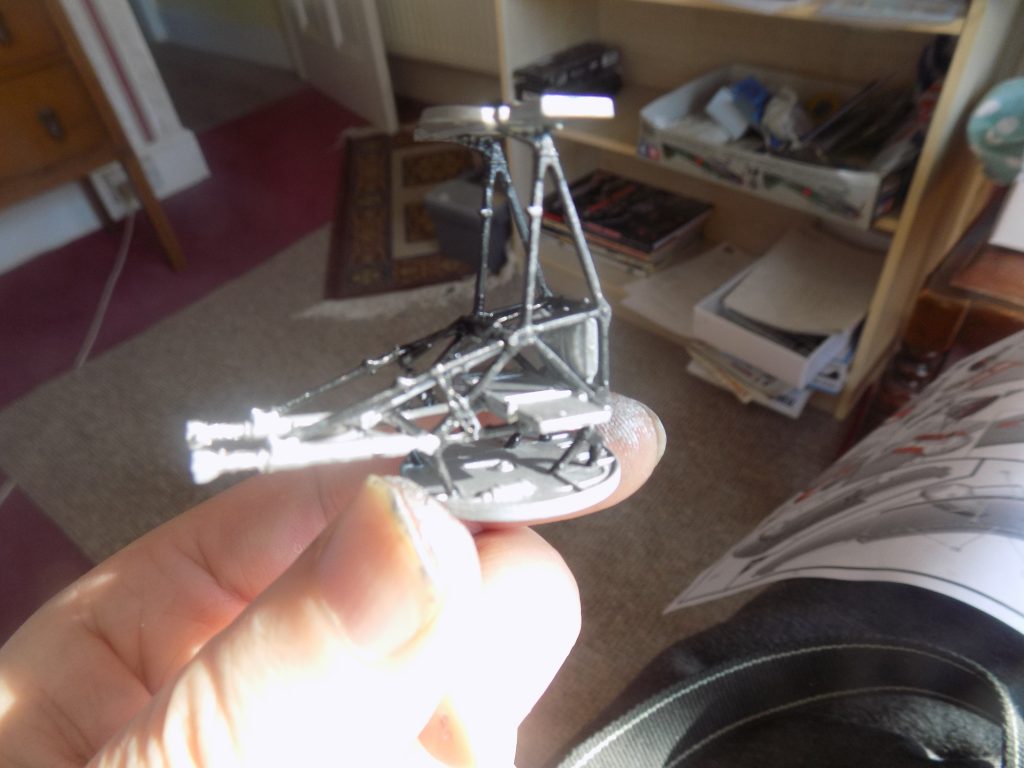
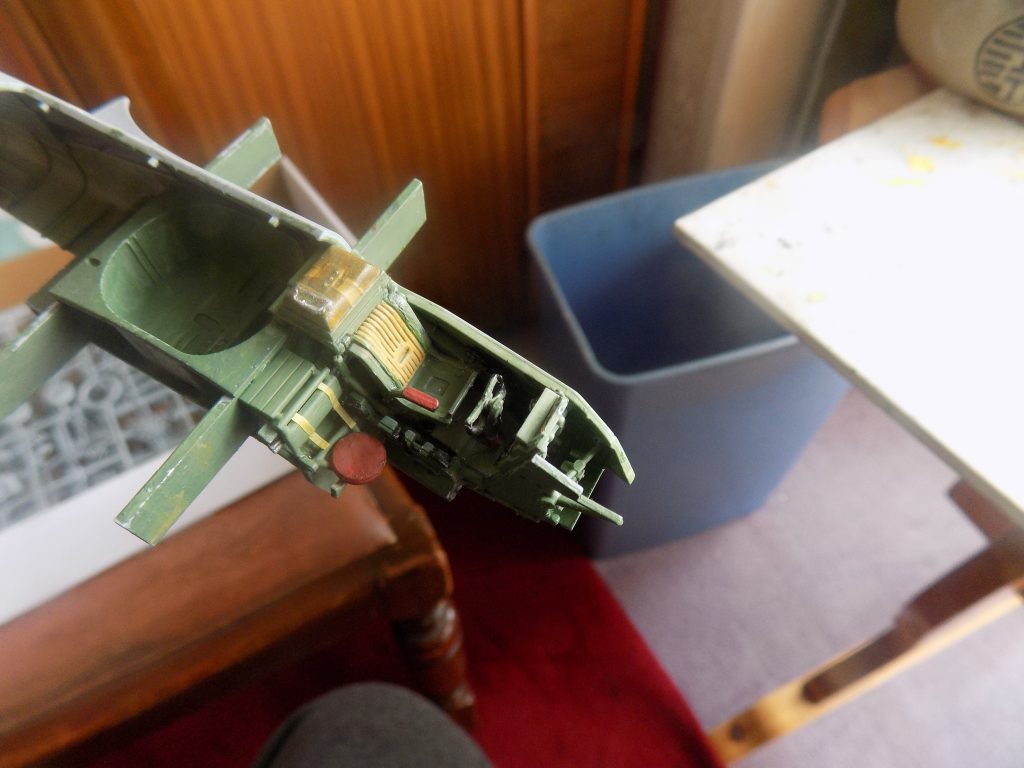
Quite a bit of work went into the construction of this kit although most of it you can’t see as it’s inside the fuselage! Airfix have taken to adding a lot of interior details to their models of late, no bad thing in my opinion.
There were one or two oddities with this kit, one of which was having to cut out a sizeable piece of plastic under the nose.
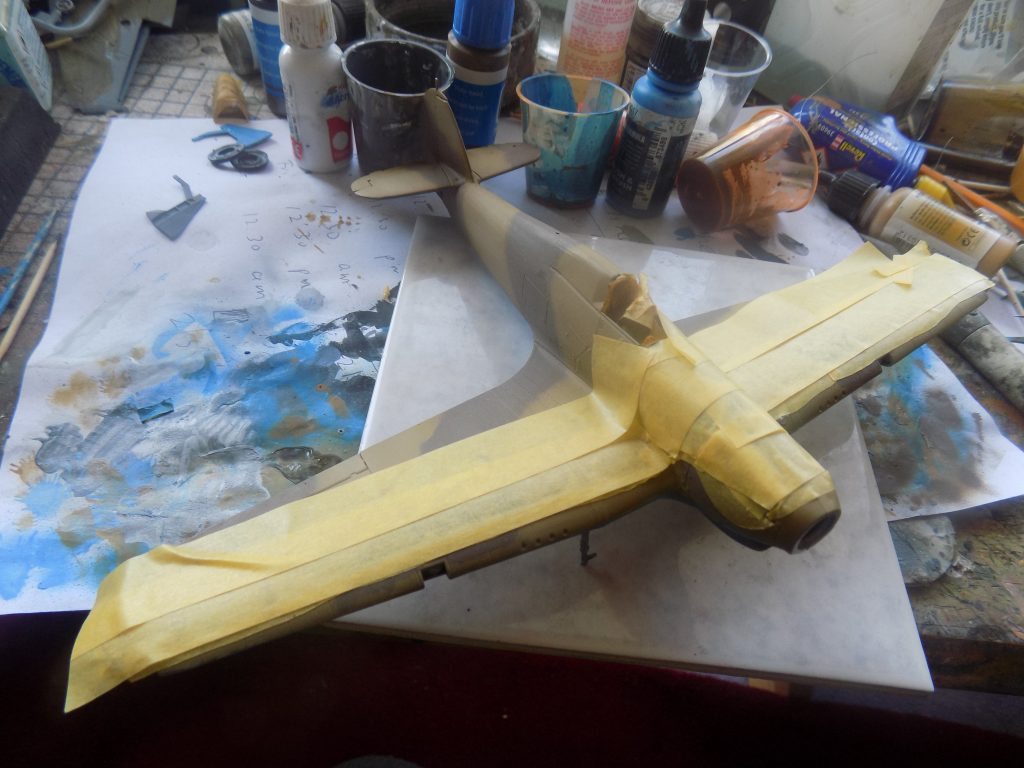
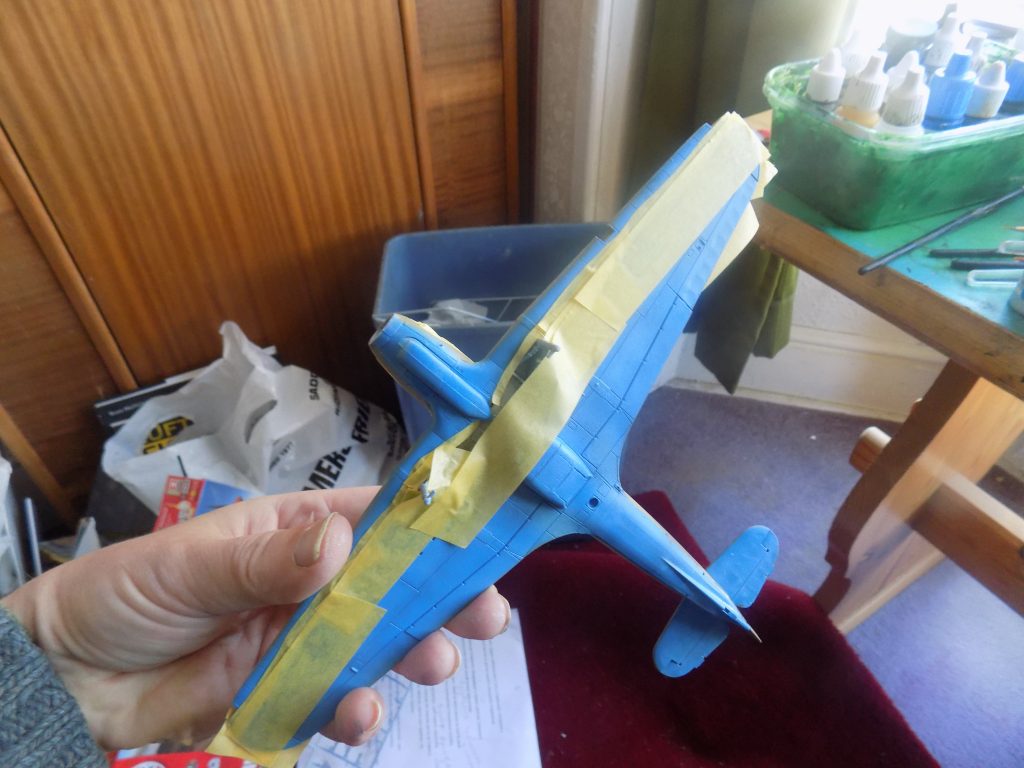
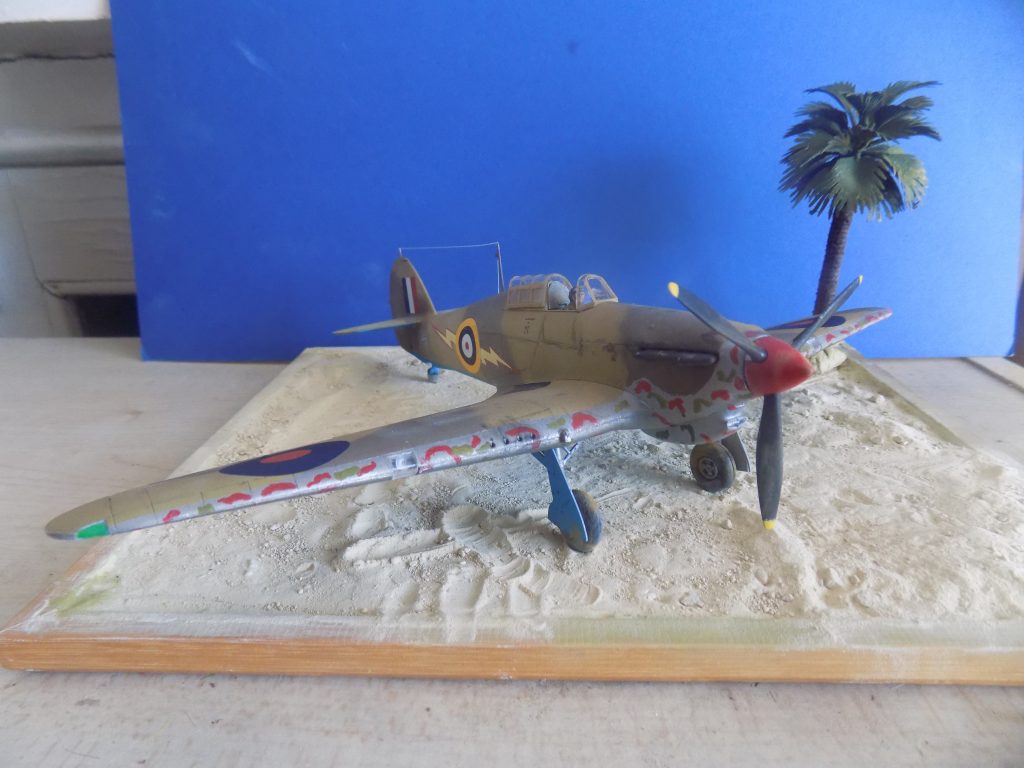
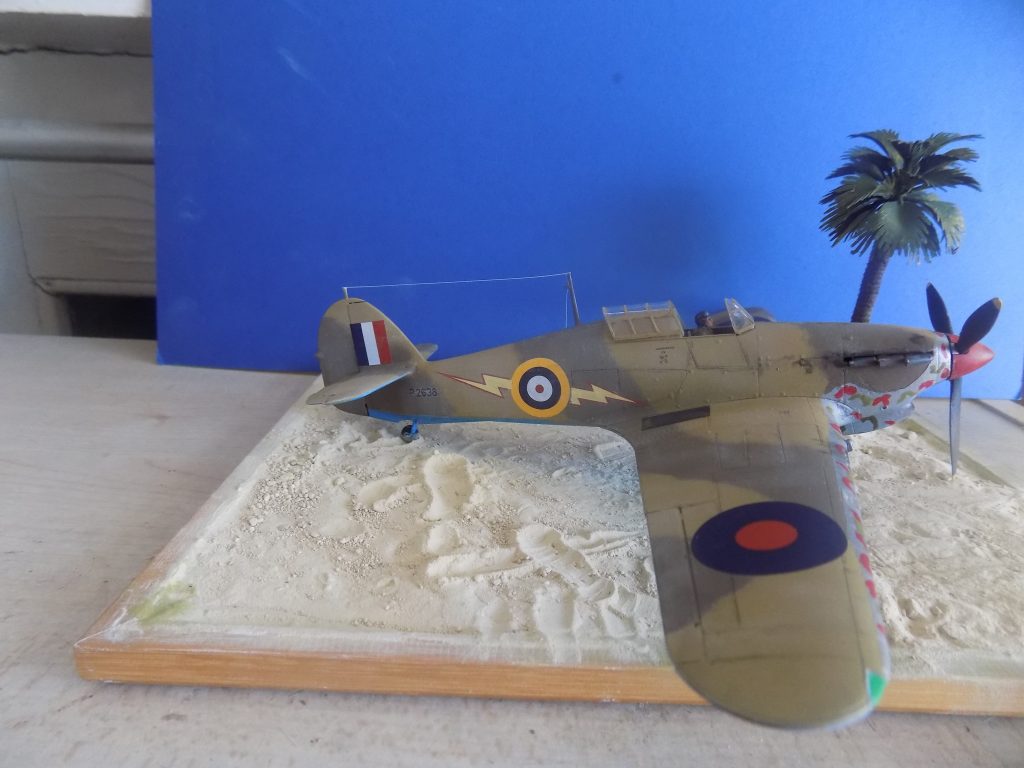
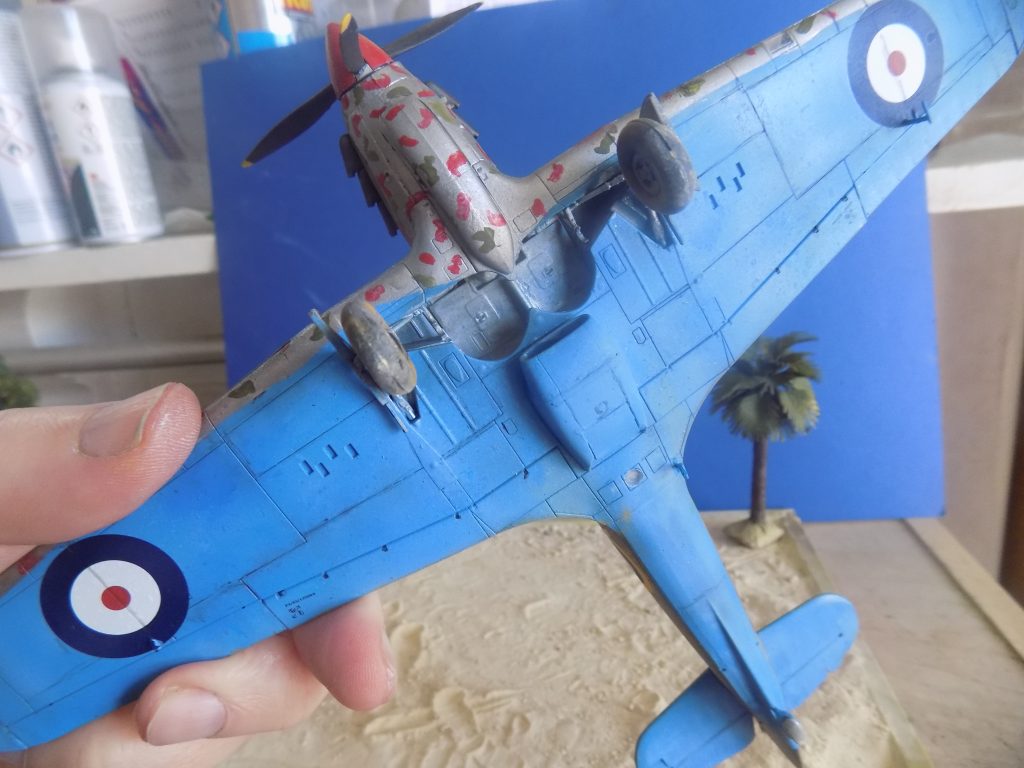
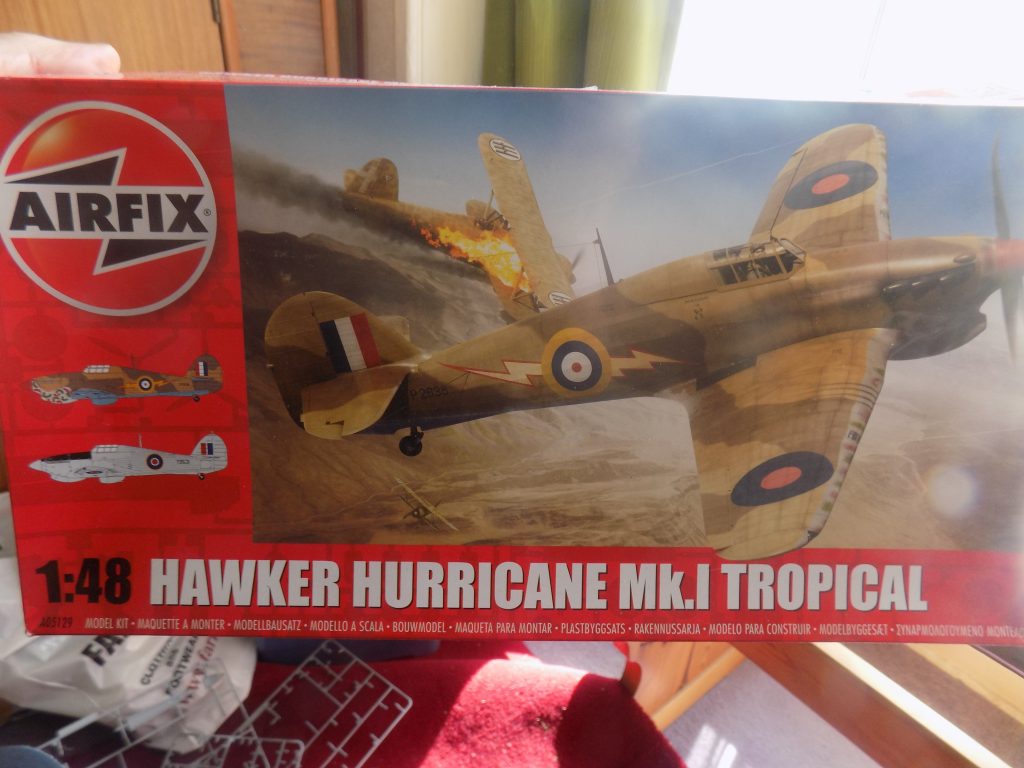

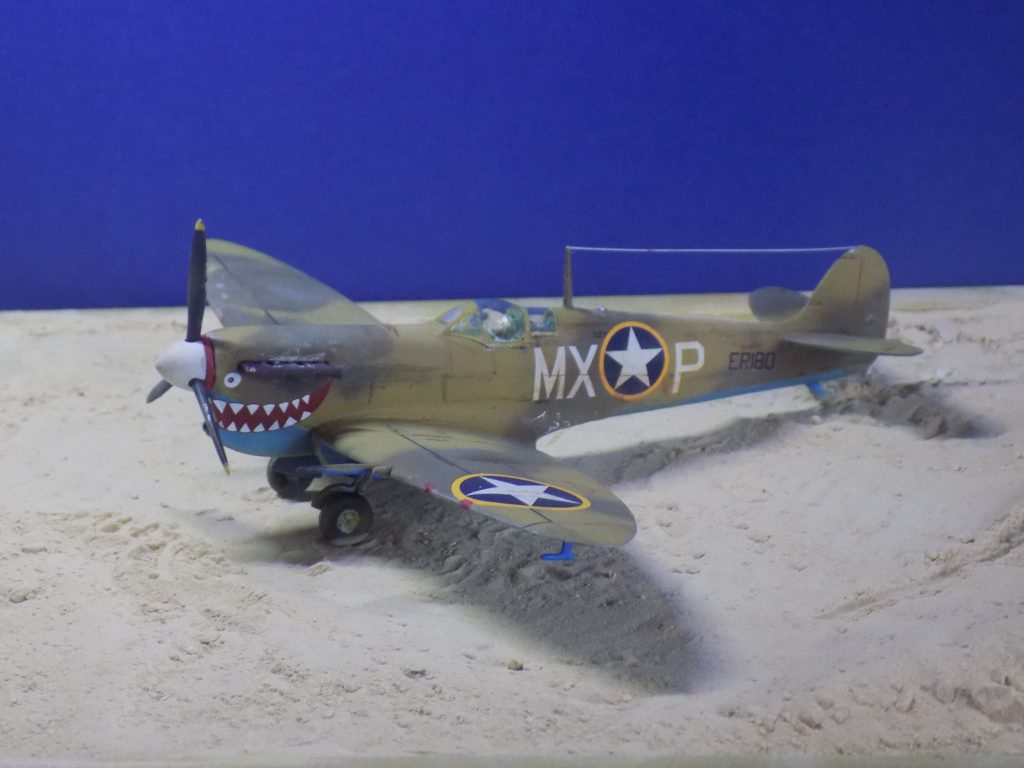
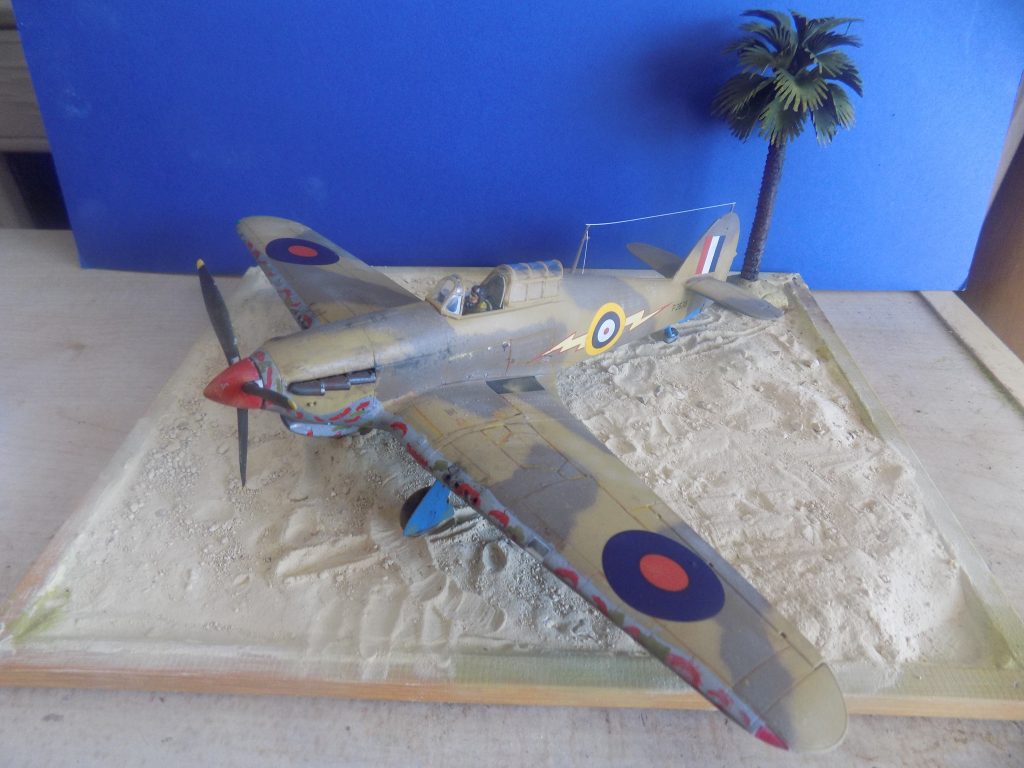
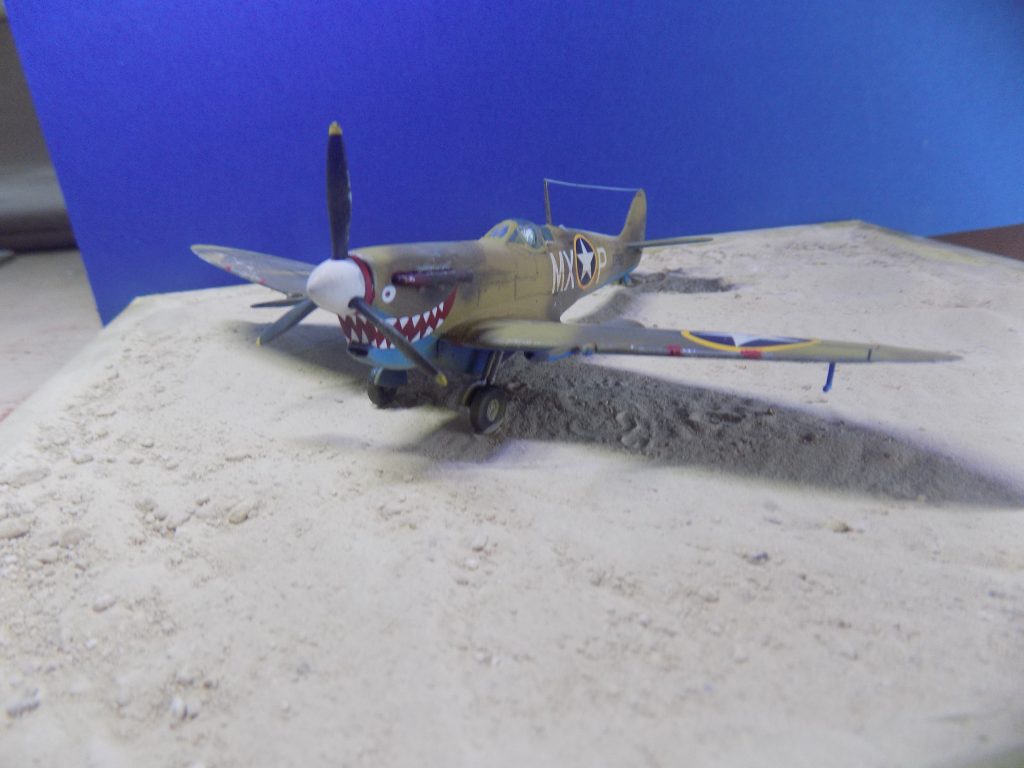
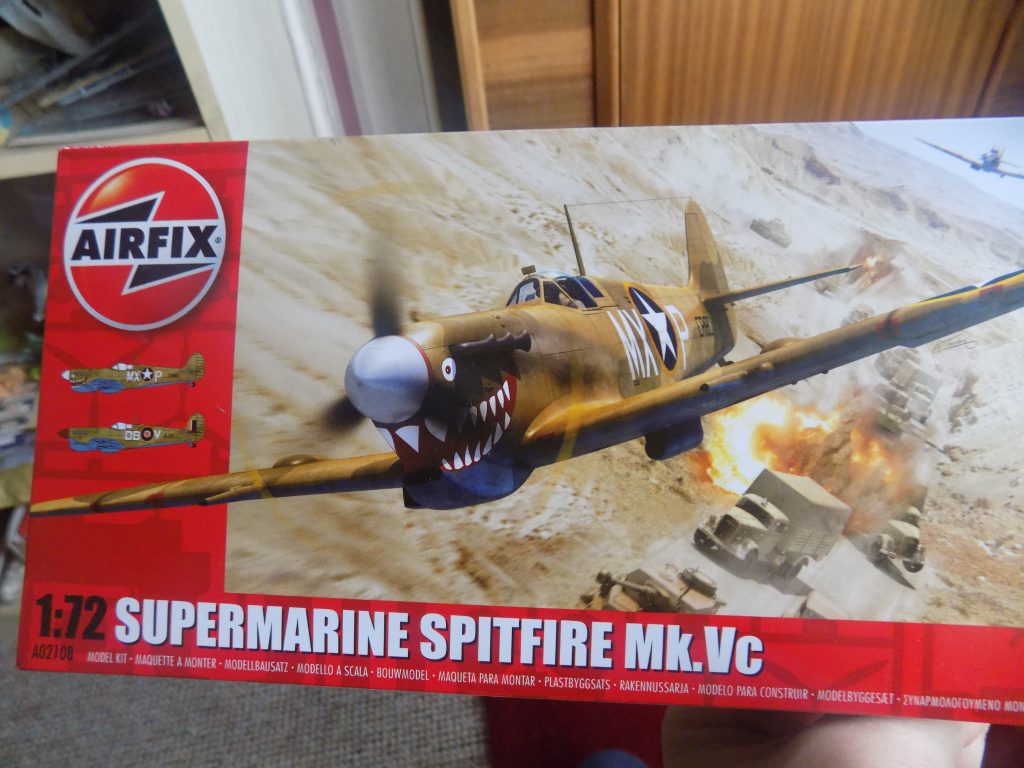
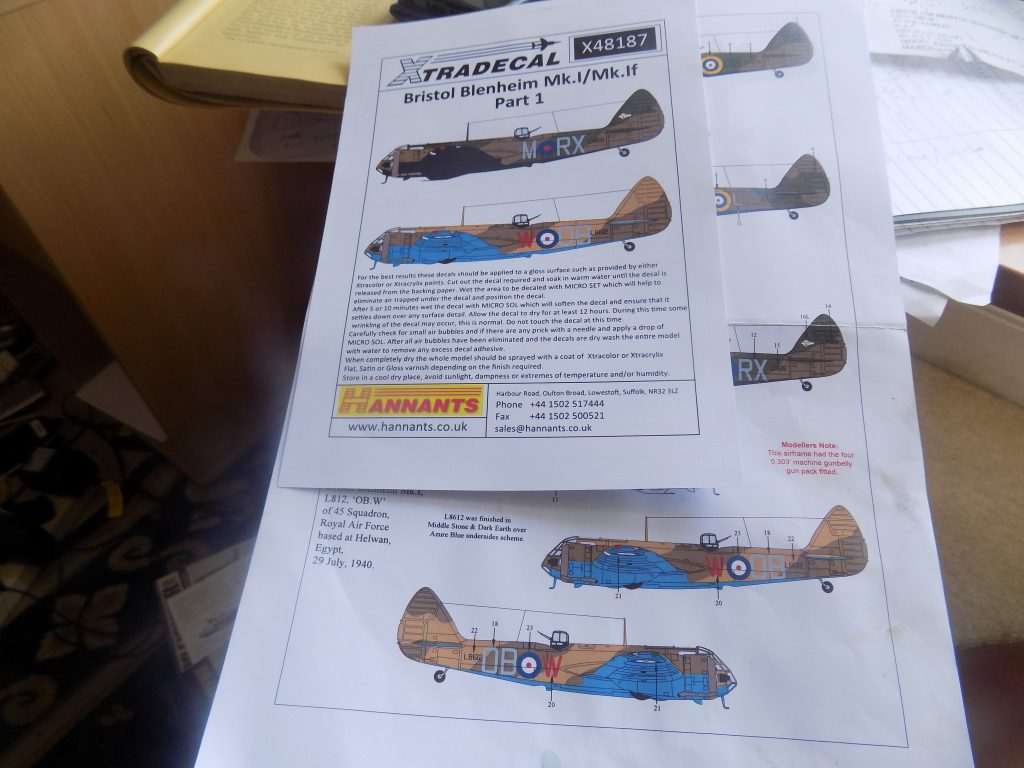
This is the recent release by Airfix which I opted to do in the USAAF markings just for something different! It’s a very pleasing kit despite the fact I made a pig’s ear of hand painting it and had to strip it all off again! I used Hataka blue line paints from their North Africa set at first but found the paints extremely thin and added too many coats which led to an uneven finish and obscuring some of the fine detail. I went back to my trusty airbrush and favourite AK interactive paints of RAF Middle Stone, RAF Dark Earth and RAF Azure Blue.
The kit has an amazing amount of interior detail for this scale and has fine recessed panel lines, a lot finer than some of Airfix’s other recent releases.
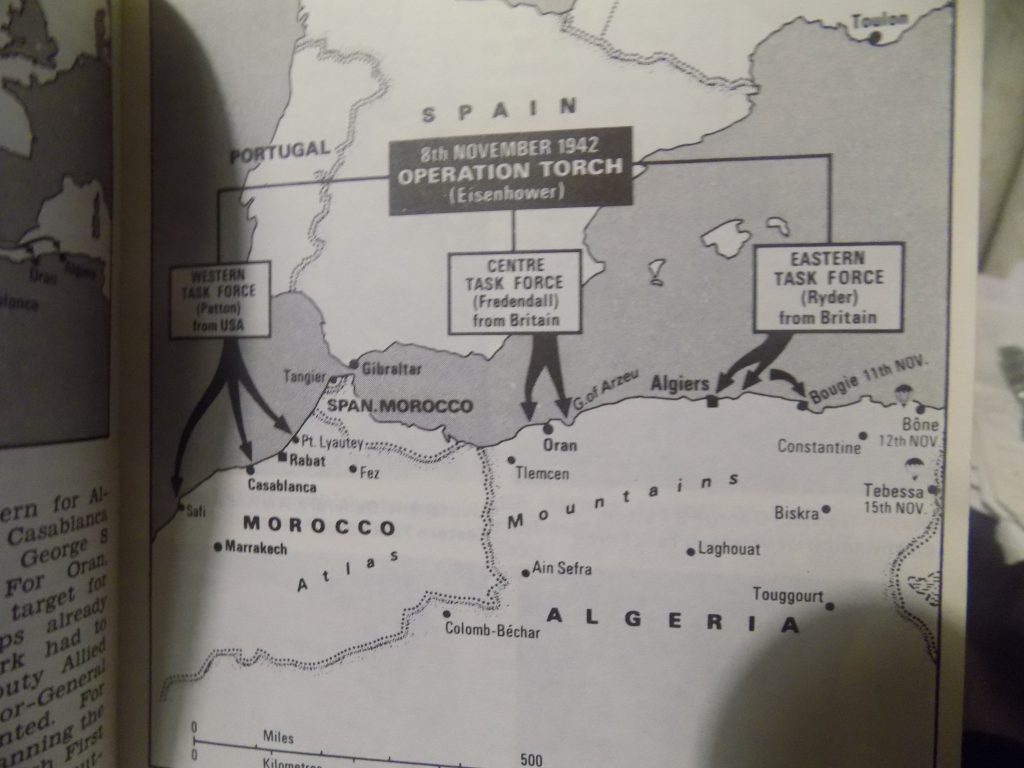
Operation Torch was the Allied code name for the simultaneous Anglo-American invasion of North-West Africa on November 8, 1942. General Eisenhower was in overall command, a surprising choice as Eisenhower was relatively unknown at the time. A press officer referred to him as ‘Lt. Col. D.D.Ersenbring’!
Torch had several strategic objectives:
Landings
Three separate task forces made up the Torch invasion. Some 35,000 American troops left the United States for French Morocco; another 35,000 came from England to take Oran in western Algeria; and a third task force of 10,000 Americans and 23,000 British moved from England to take Algiers. The British and American naval forces transported all the troops in this undertaking.
The landings began on November 8, 1942. The British managed to get ashore with little difficulty, but the French forces at Oran and in Morocco did not surrender until November 10 and 11.
The operation was complicated by a confused political situation. The attempt to win a rapid French surrender was foiled when the anti-British Adm. Jean Darlan returned unexpectedly to North Africa two days before the invasion He at first led a fierce French resistance. Some French forces in North Africa were loyal to General Charles de Gaulle’s liberation movement in England; others backed General Henri Giraud, who had just escaped to France from a German prison camp; and some were pledge to their commander, General Henri Petain, head of the Vichy Government. Darlan broke with Petain and ordered the surrender of Algiers on the evening of November 8th.
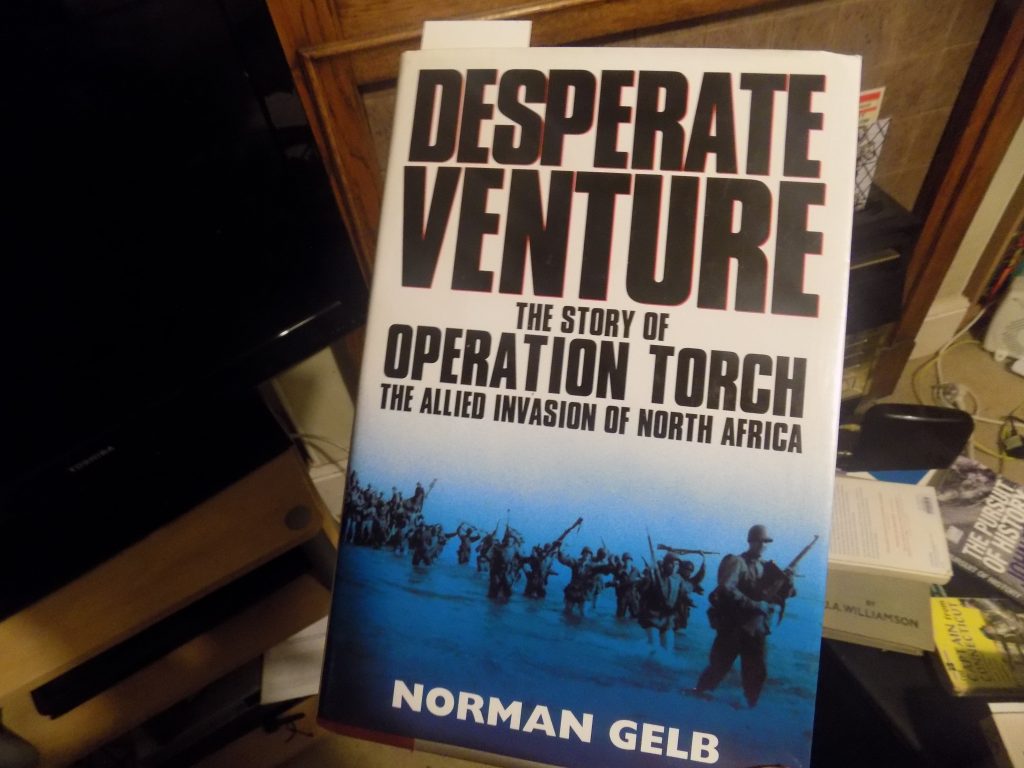
From: Louis L. Snyder’s Historical Guide to World War II
Now for some entertainment!
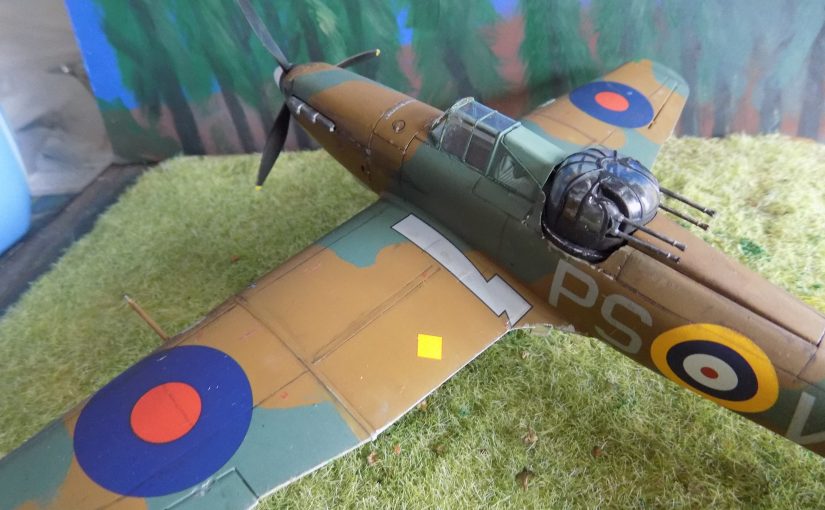
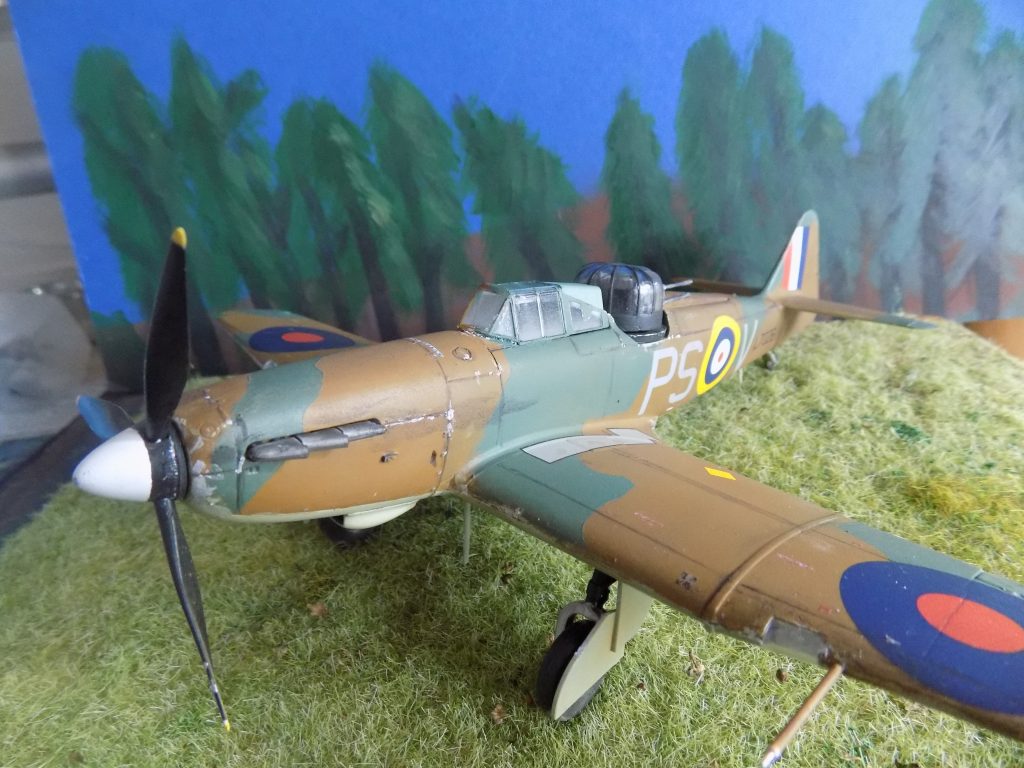
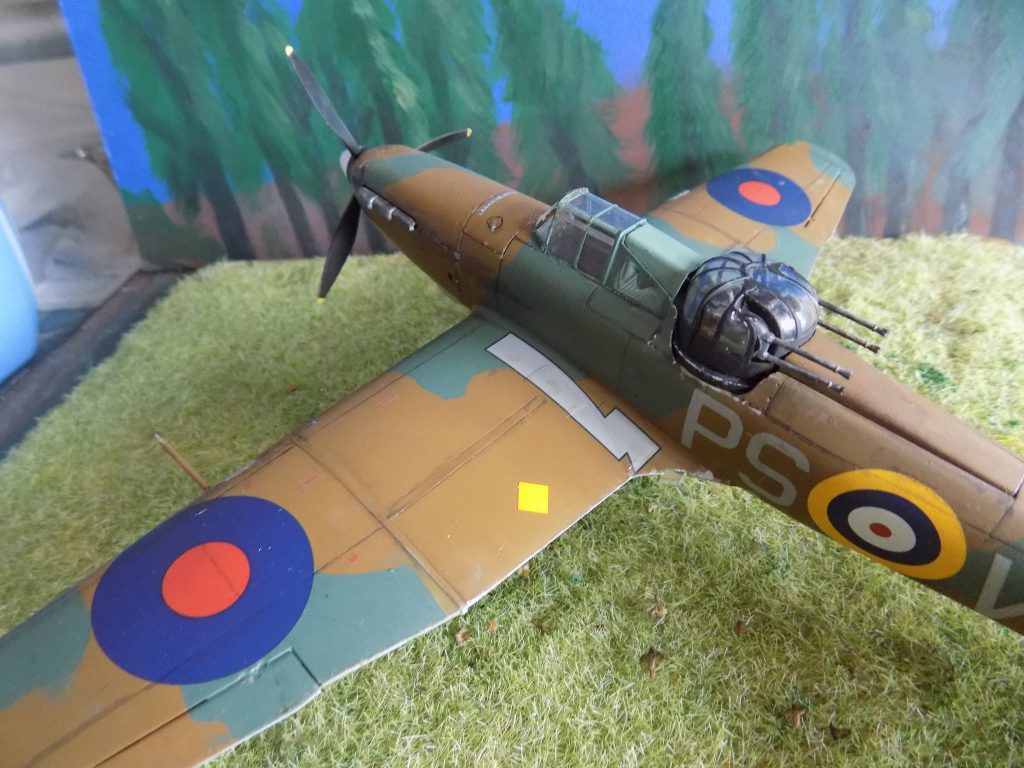
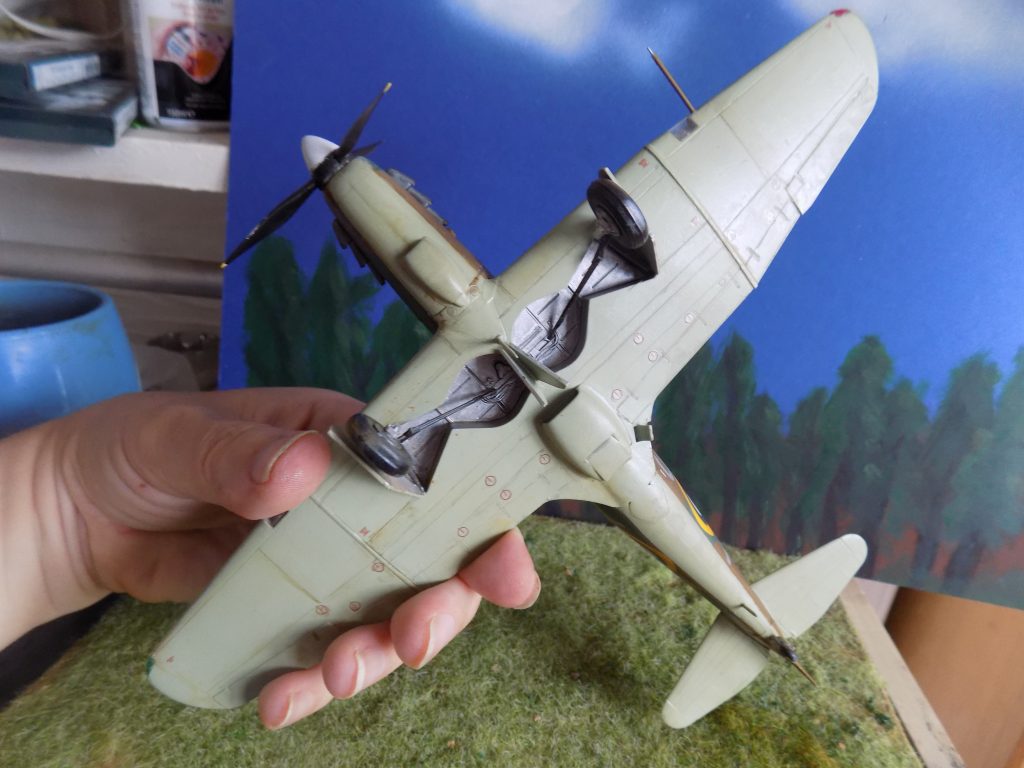
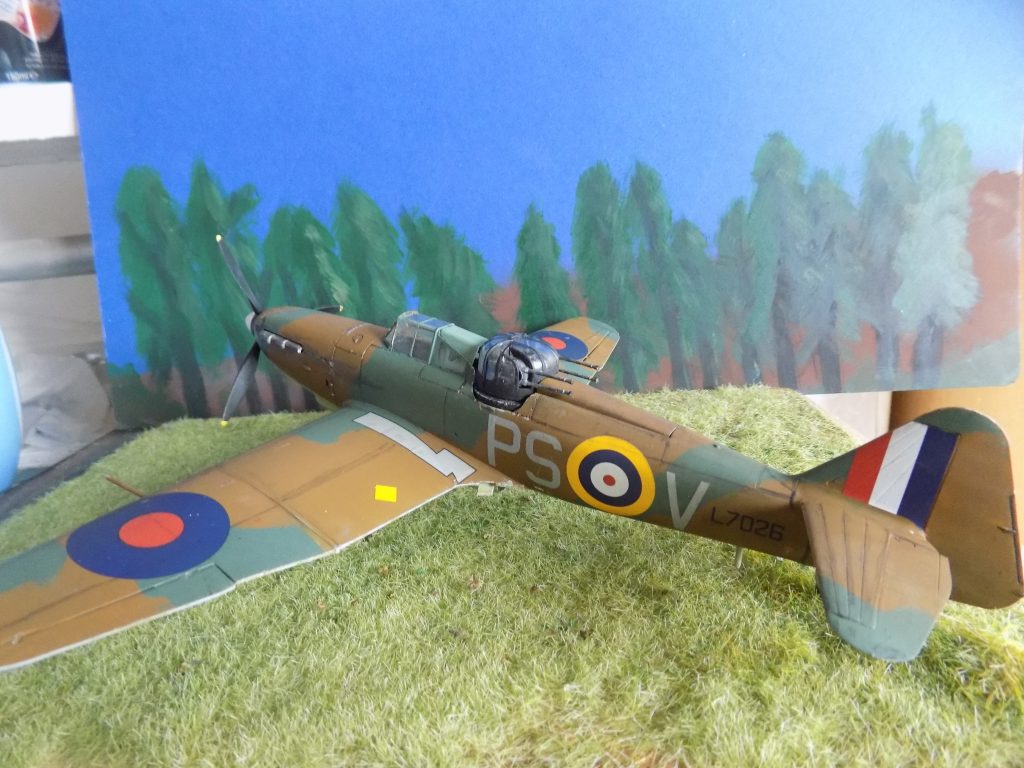
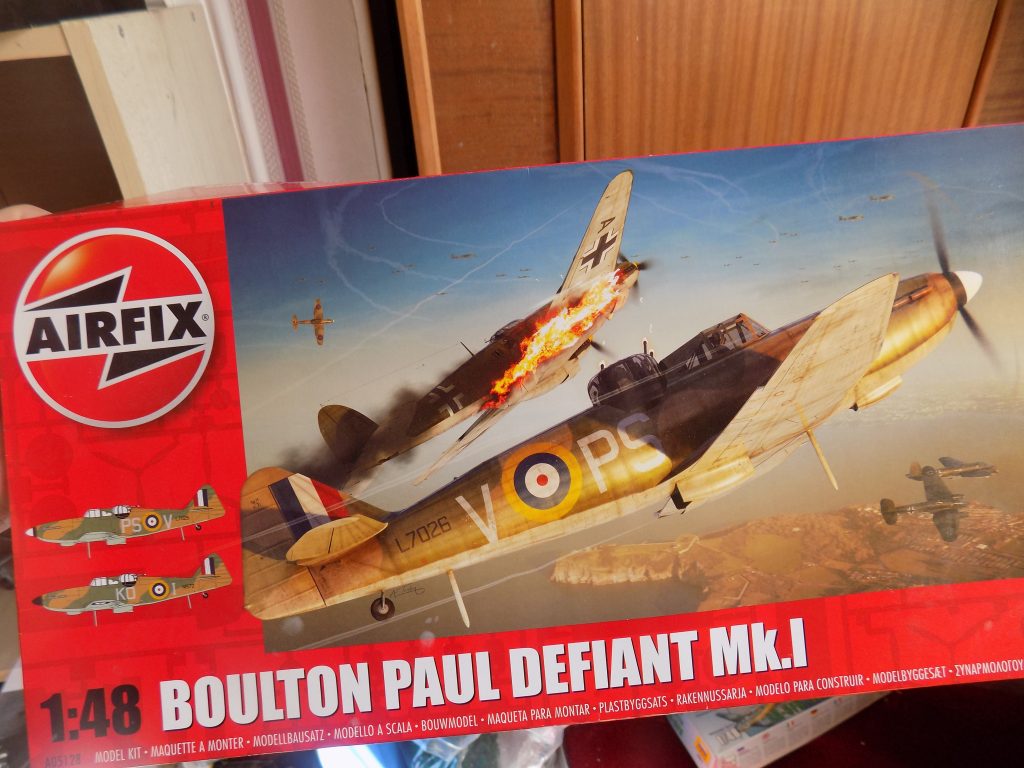
This is my version of the Airfix 1:48 Defiant, a fairly recent release. I was having lots of trouble with my airbrush (it happens often!) so decided to brush paint instead for a change. Quite pleased with the result. You just need to thin the paint properly, take your time, and apply several thin coats The camo may not be quite accurate but it is near enough!
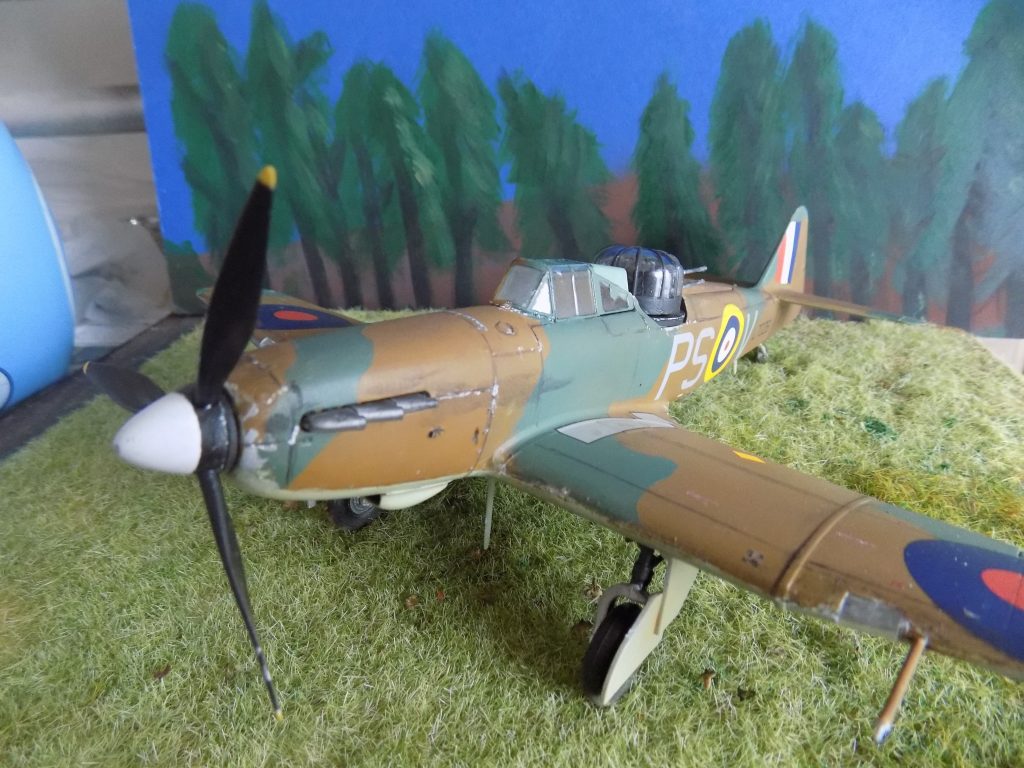
The Boulton Paul Defiant was the only ‘turret fighter’ to enter service with the RAF. A contemporary of the only other turret fighter, the Royal Navy’s Blackburn Roc, the Defiant was conceived as a fighter that would be able to enter a bomber stream and cause havoc with the four machine guns bristling from its turret and the turret would also enable it to defend itself from enemy fighters.
However, despite its sleek lines and powerful Merlin engine, the Defiant proved a failure as a daytime interceptor. During the Battle of Britain, the Defiant proved fairly successful at first as enemy pilots were taken by surprise. But the Luftwaffe pilots worked out its weaknesses, especially the lack of forward firing guns which meant head on attacks from enemy fighters were often fatal.
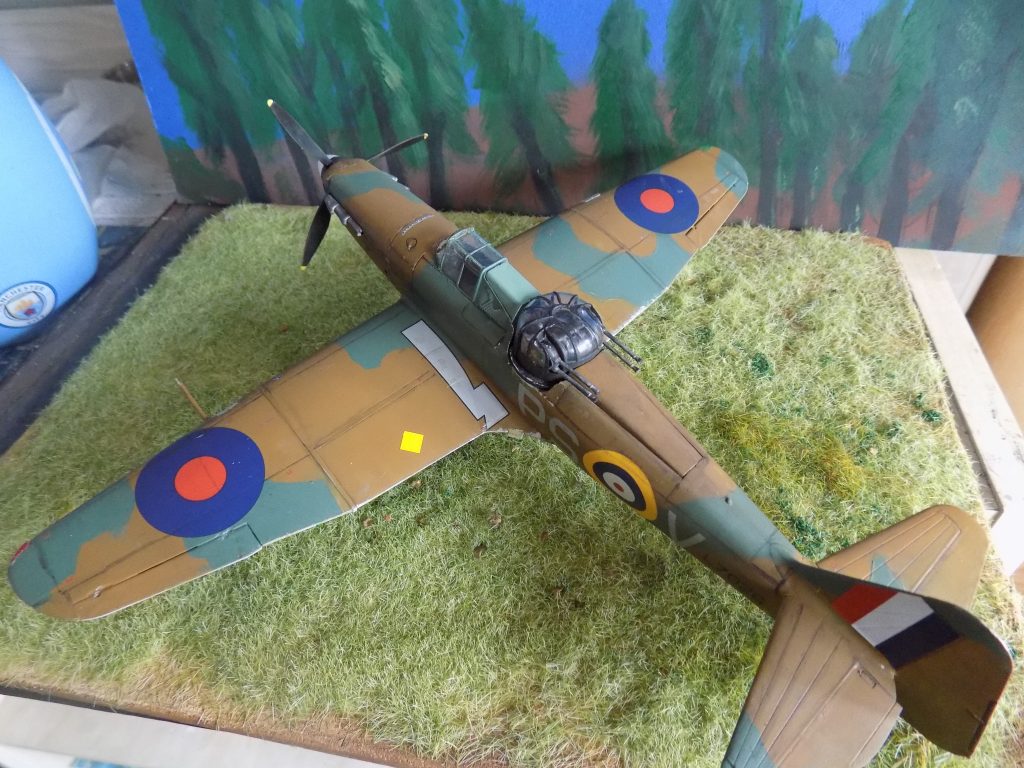
The Defiant was soon relegated to a night fighting role were it fared better, before being eventually re-assigned to Air Sea Rescue and training duties.
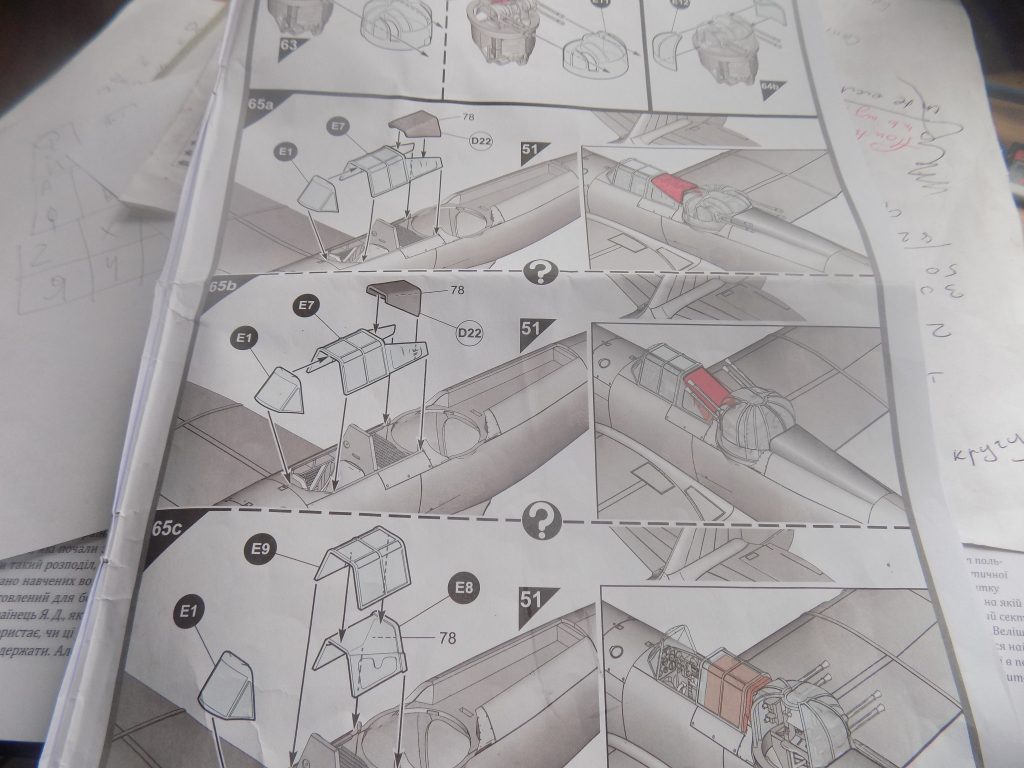
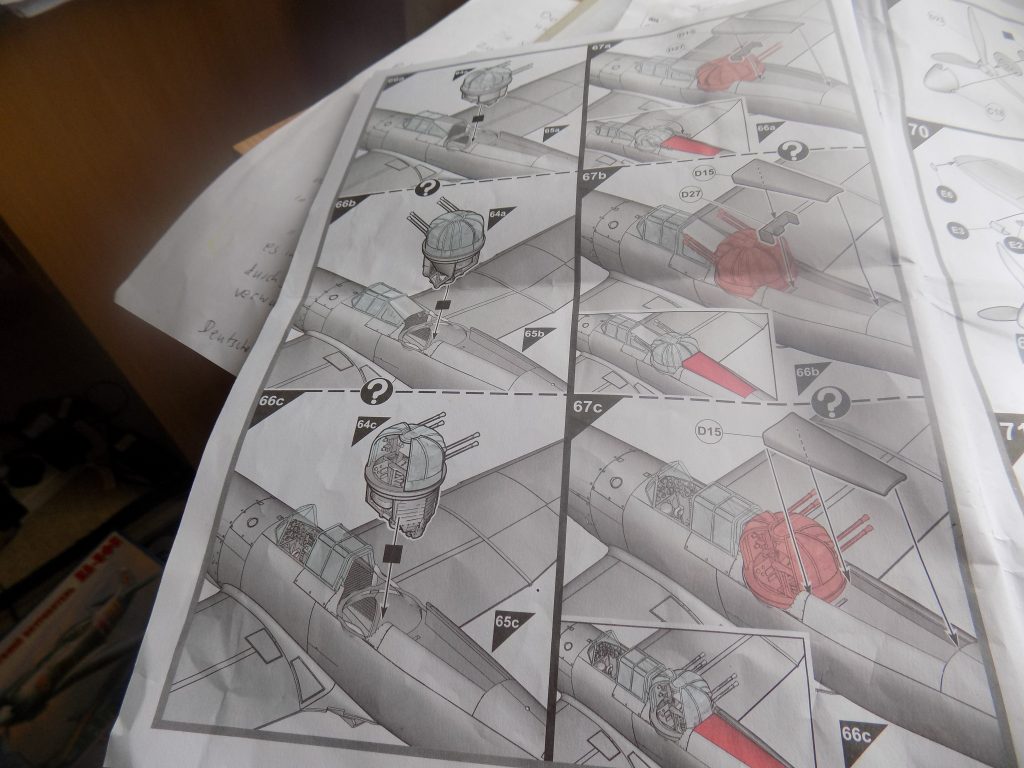
Building the kit was not as challenging as I was expecting. However, the instructions are a little confusing with so many options for the turret, open, closed, sideways facing or rear facing, with the back upper panel either raised or lowered! Took some figuring out believe me!
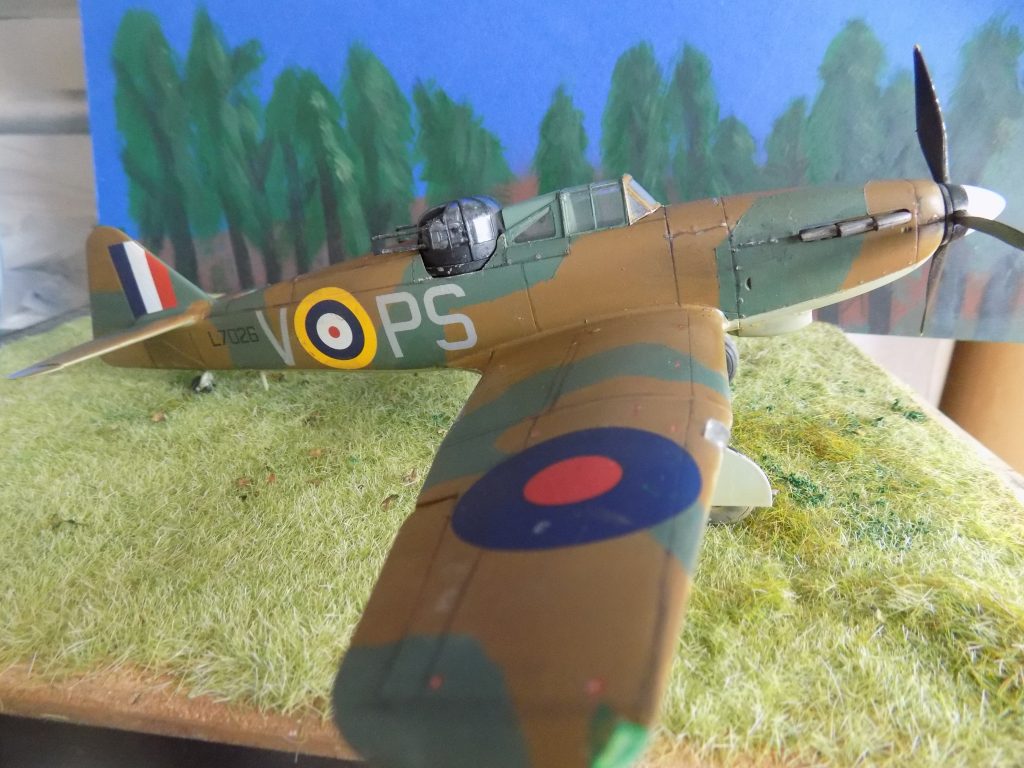

‘The Boulton Paul Defiant is an aircraft which has suffered from a great deal of misinformation and scorn over the years, though it remains a quirky favourite of many people. It is said to have been a hopeless failure in air combat, yet only thirty-seven Defiants were ever shot down by the Luftwaffe, while recording 152 victories of their own: a healthy ratio. In fact, the Defiant had only had two really bad days in aerial combat: 13 May 1940 when B Flight of No 264 Squadron lost five of its six aircraft over Holland, while claiming five German aircraft shot down, and 19 July 1940 when seven out of nine Defiants of No. 141 Squadron were shot down by superior numbers of Bf.109s, four of which were claimed in return. It was this action more than any other which has dogged the reputation of the aircraft.
I have spoken to many ex-Defiant aircrew over the years, and not one of them had a bad word to say against it. Those who flew with No. 264 Squadron, which undertook all but one of its combats in daylight, saw no reason for the type to be taken off day fighting; they totally believed they could hold their own against the Bf.109s, and the records show that they were right.’
From ‘Boulton Paul Defiant: An Illustrated History’ Amberley Publishing 2019
by Alec Brew
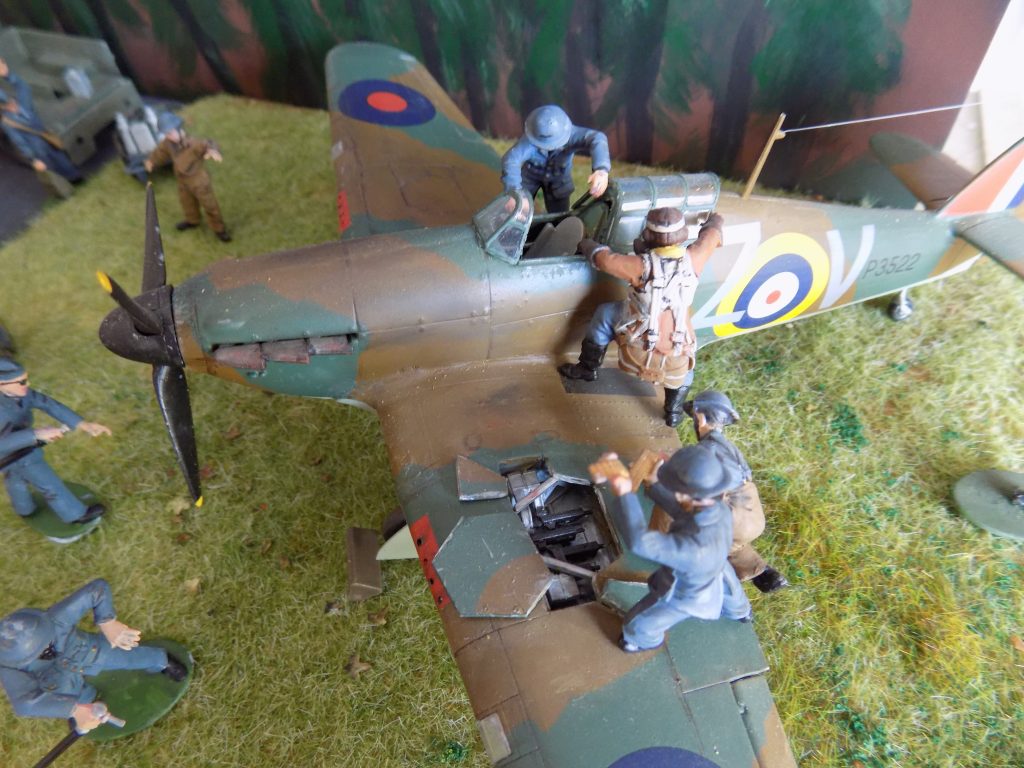
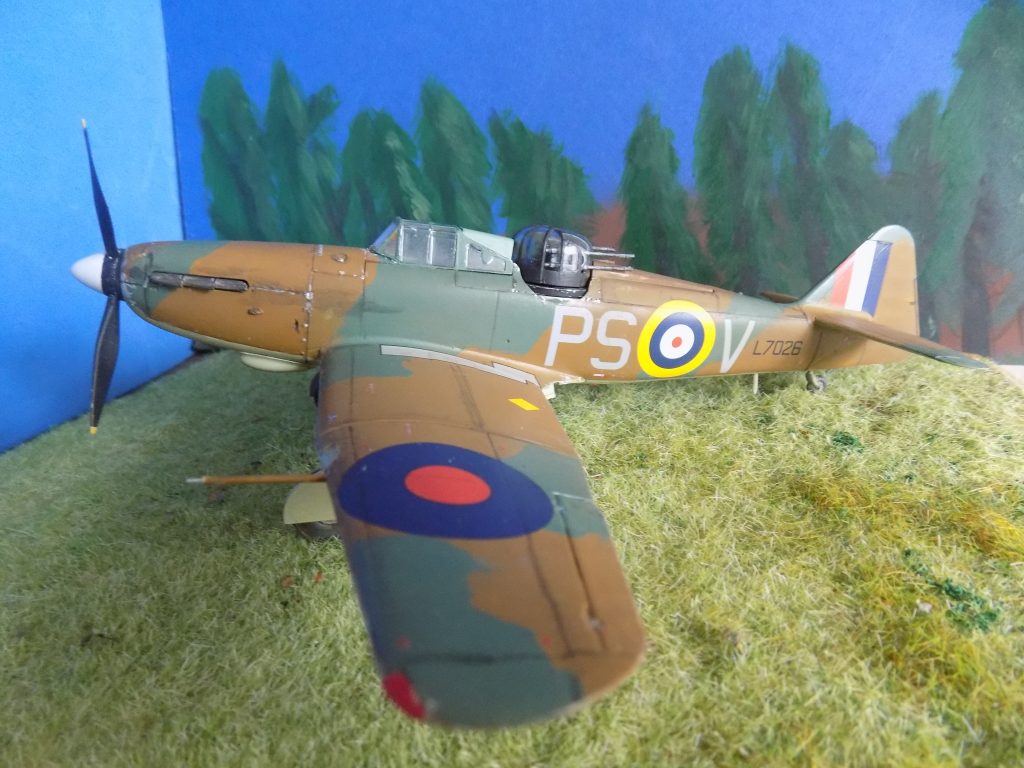
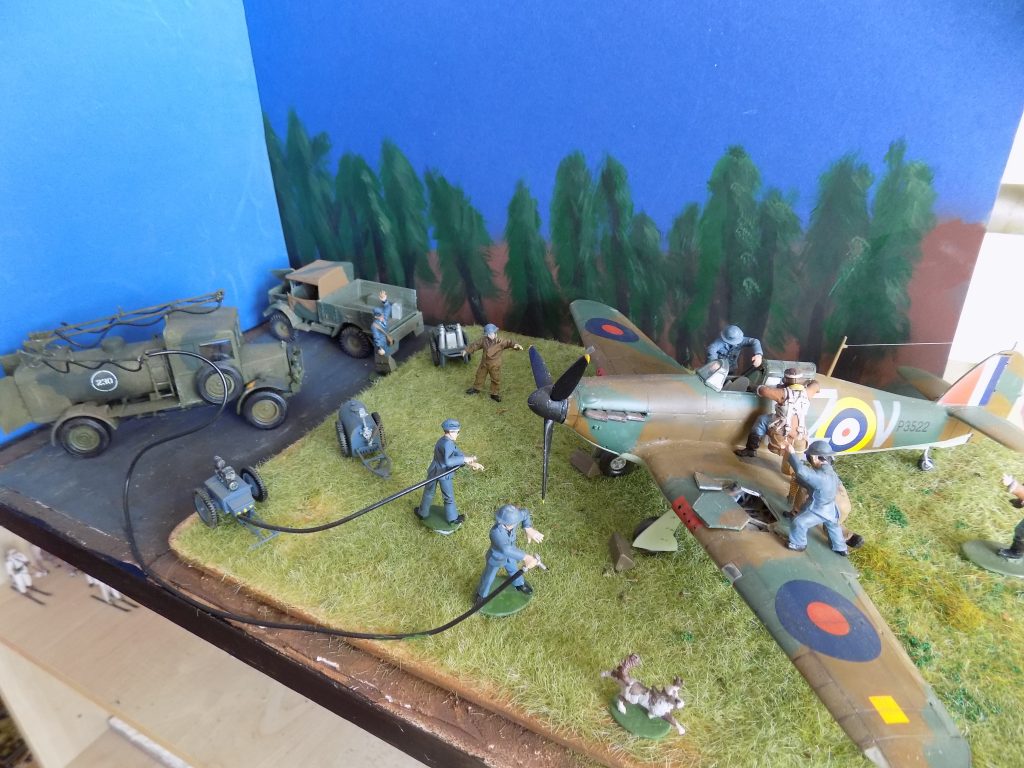
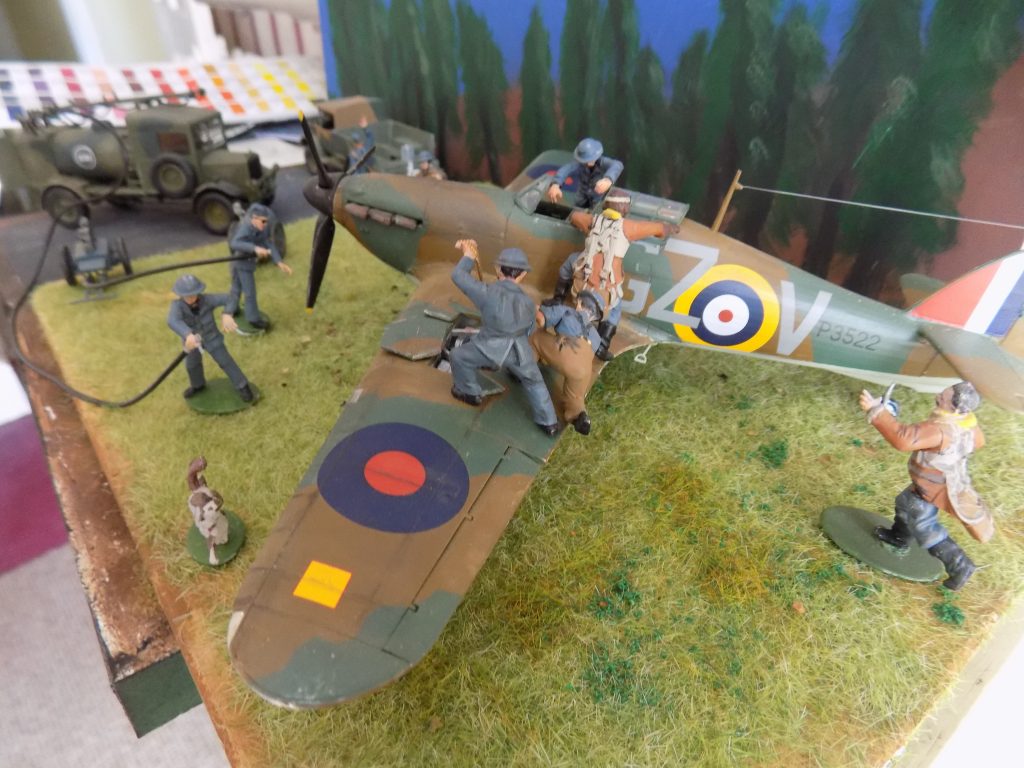
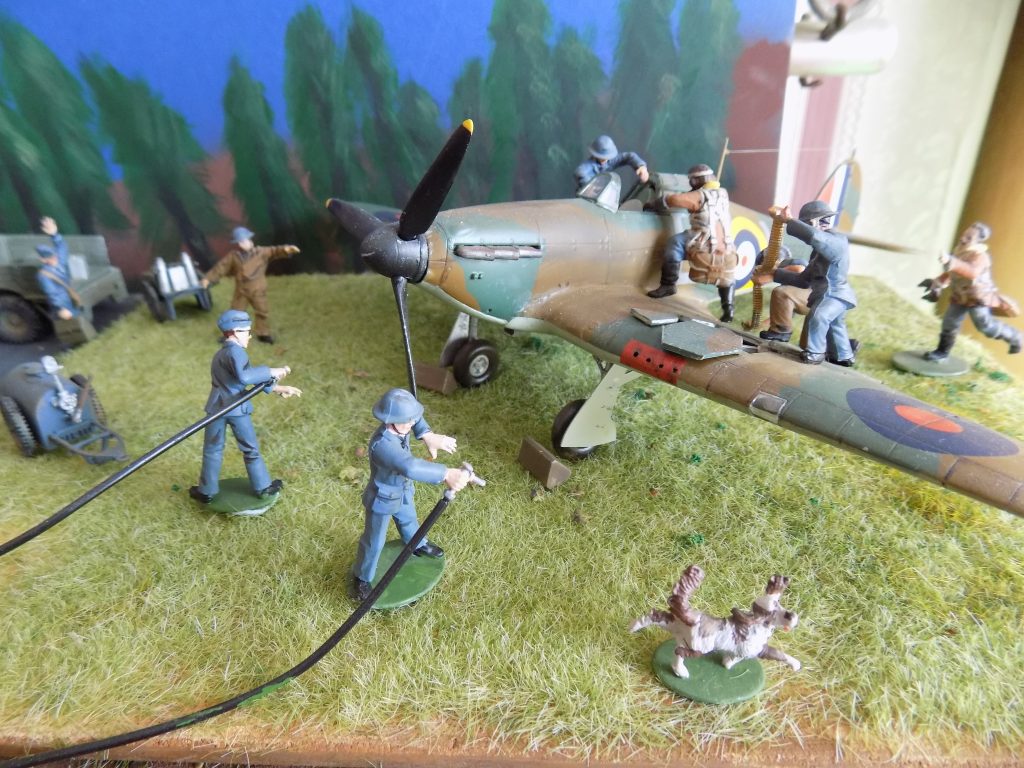
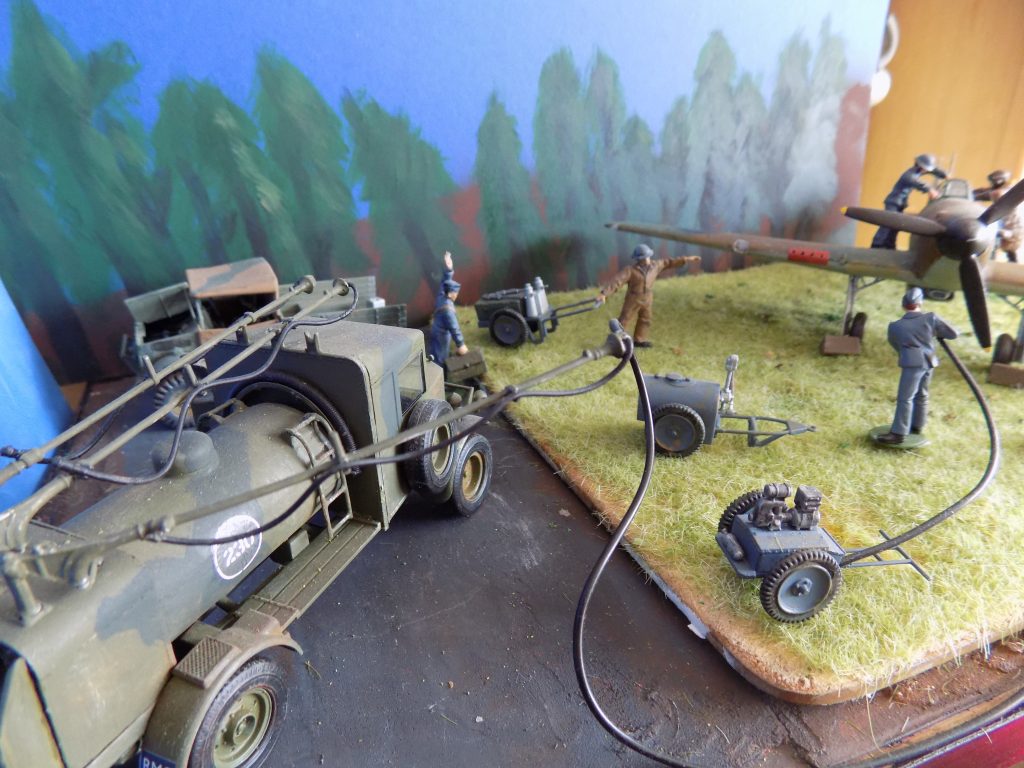
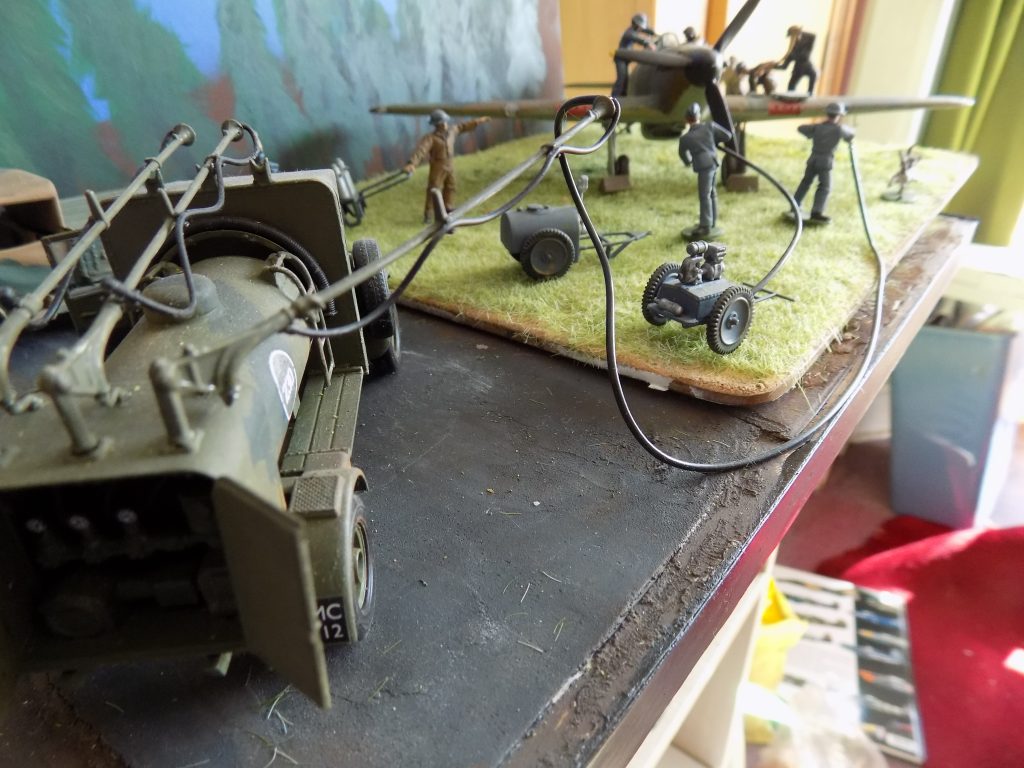
This is the Airfix set starring a Mk. I Battle of Britain Hawker Hurricane in 1:48 scale. The aircraft is so well-known, I wont say anything about it save it was a very rugged aircraft and easy to repair and maintain in the field. The only extras I added myself were the hoses made from plastic tubing.
It was a very enjoyable project brim full of details and well worth the money! The dog’s name is Scamper, by the way!
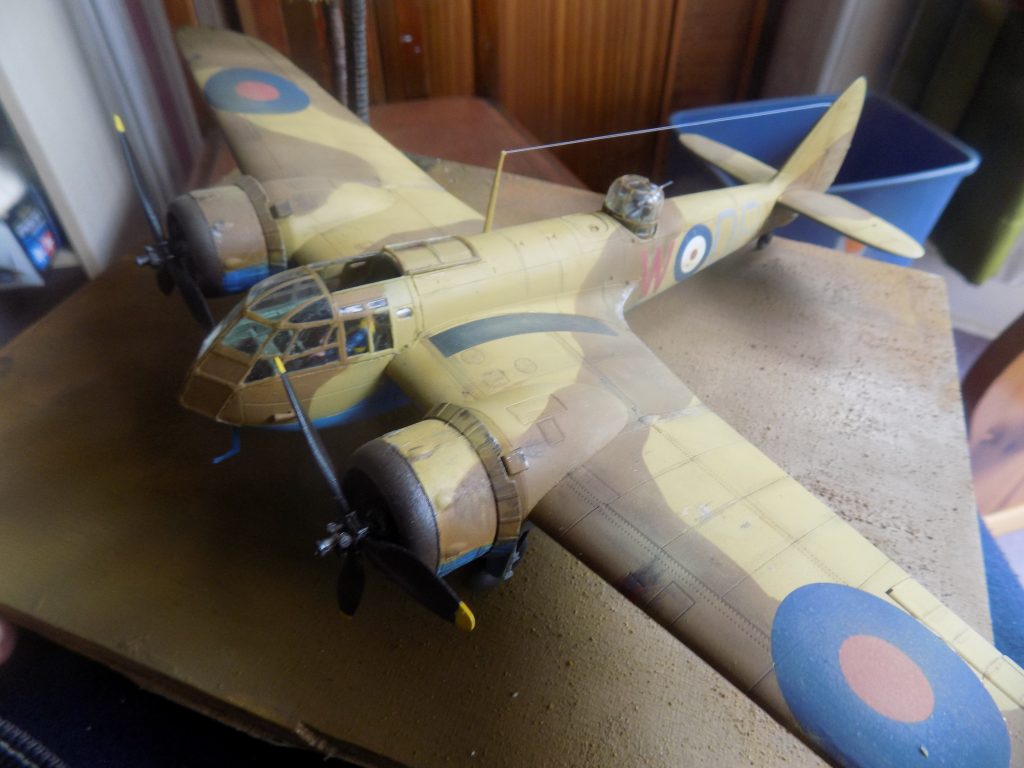
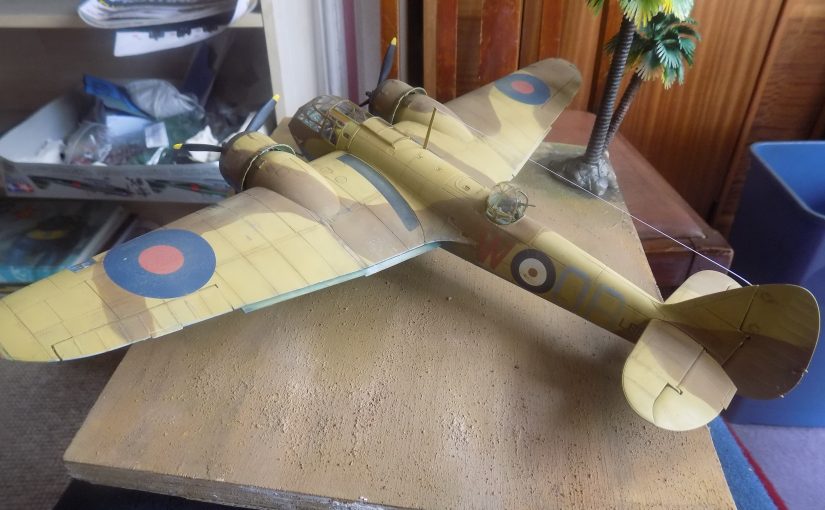
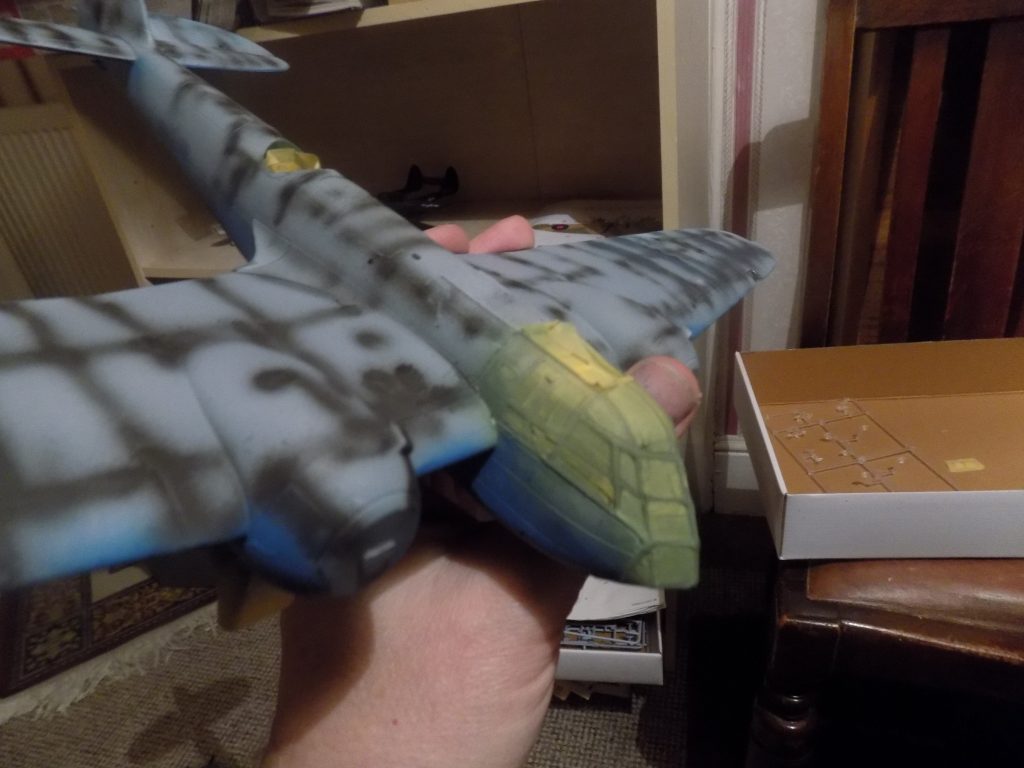
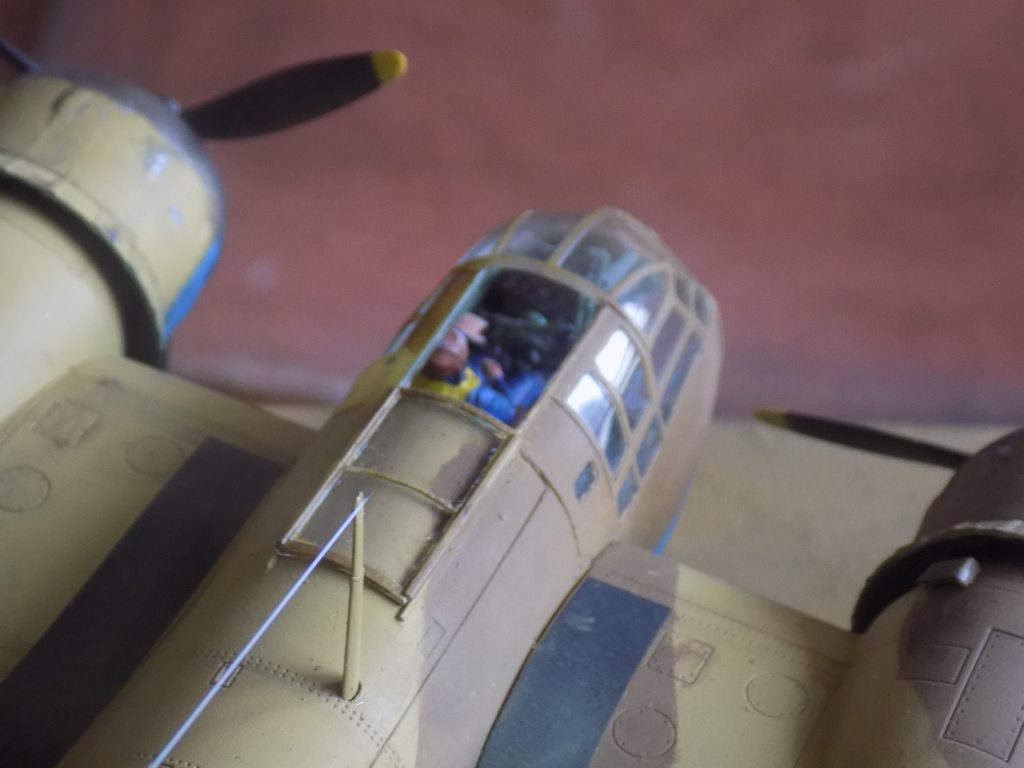
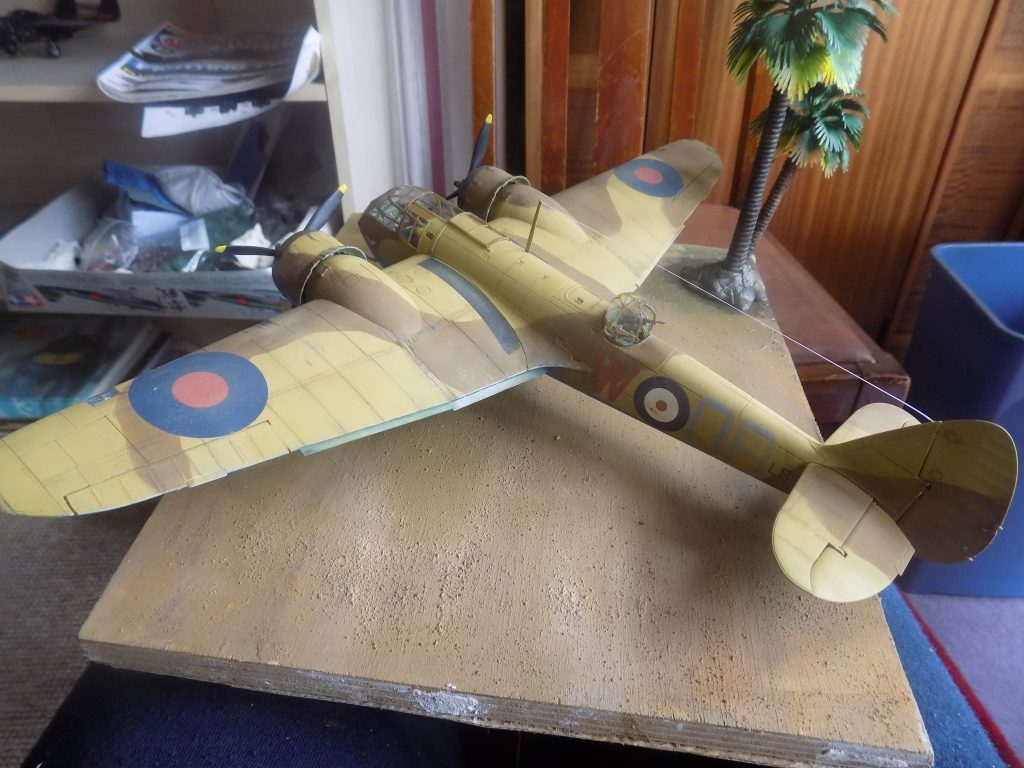
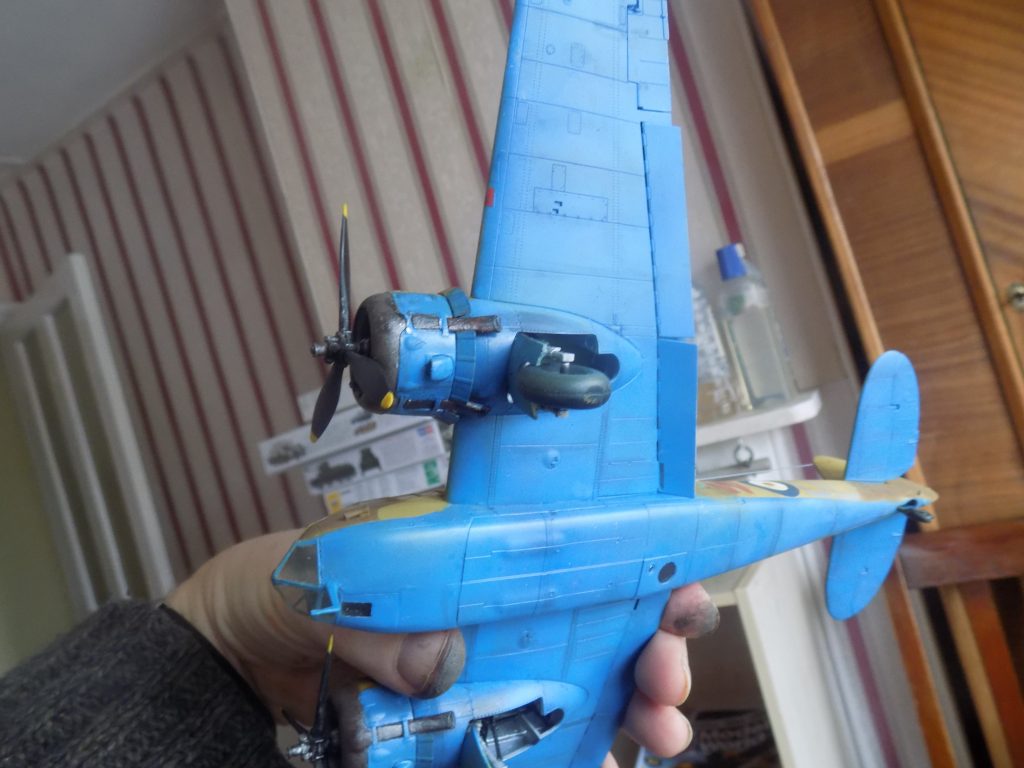
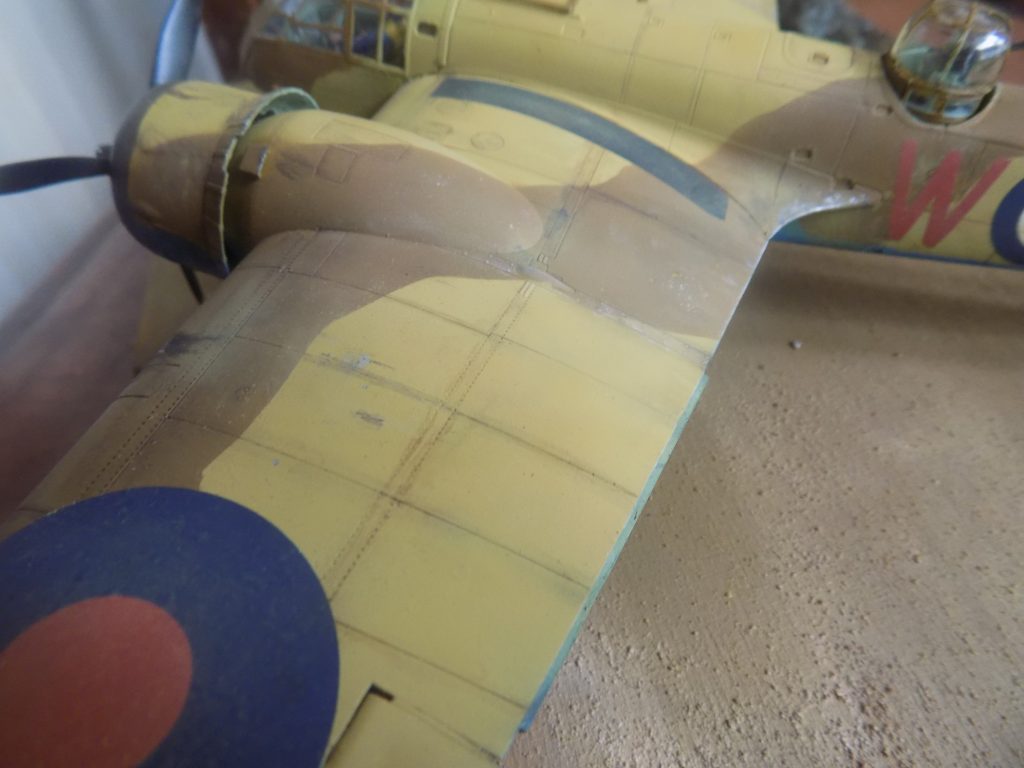
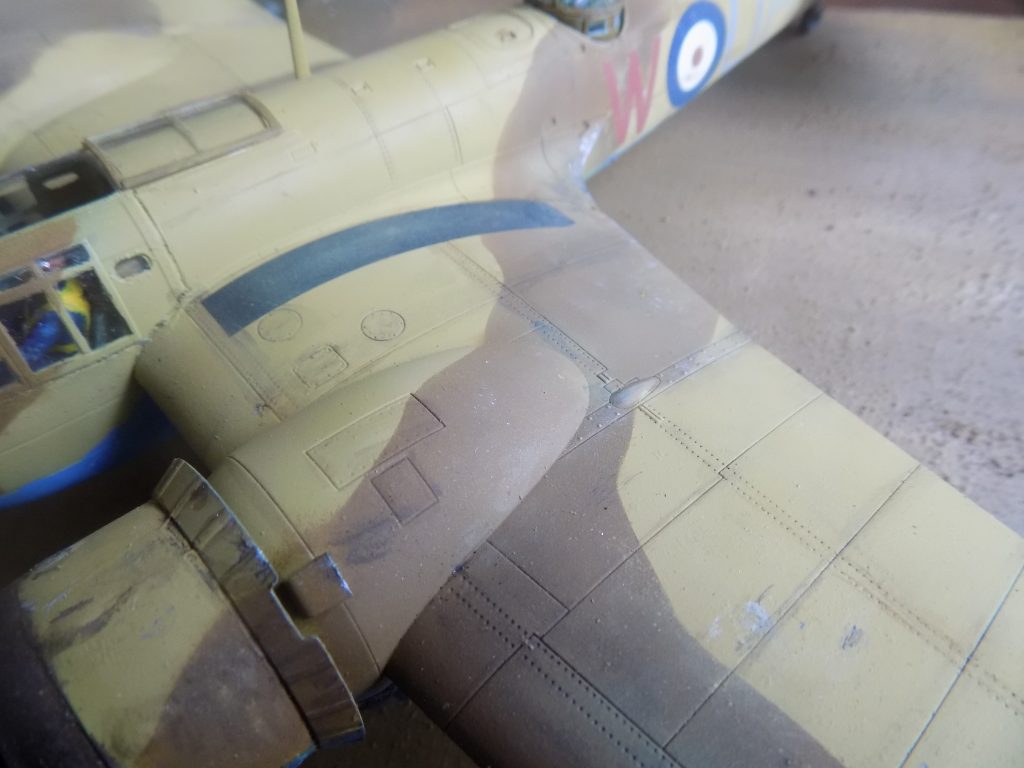
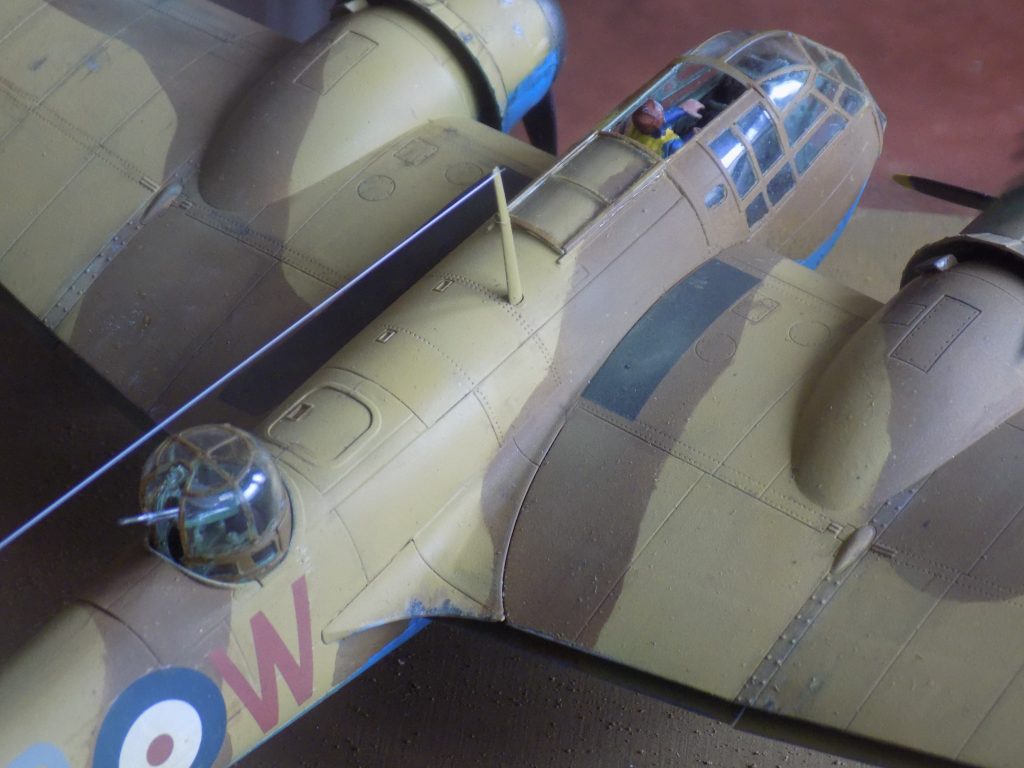
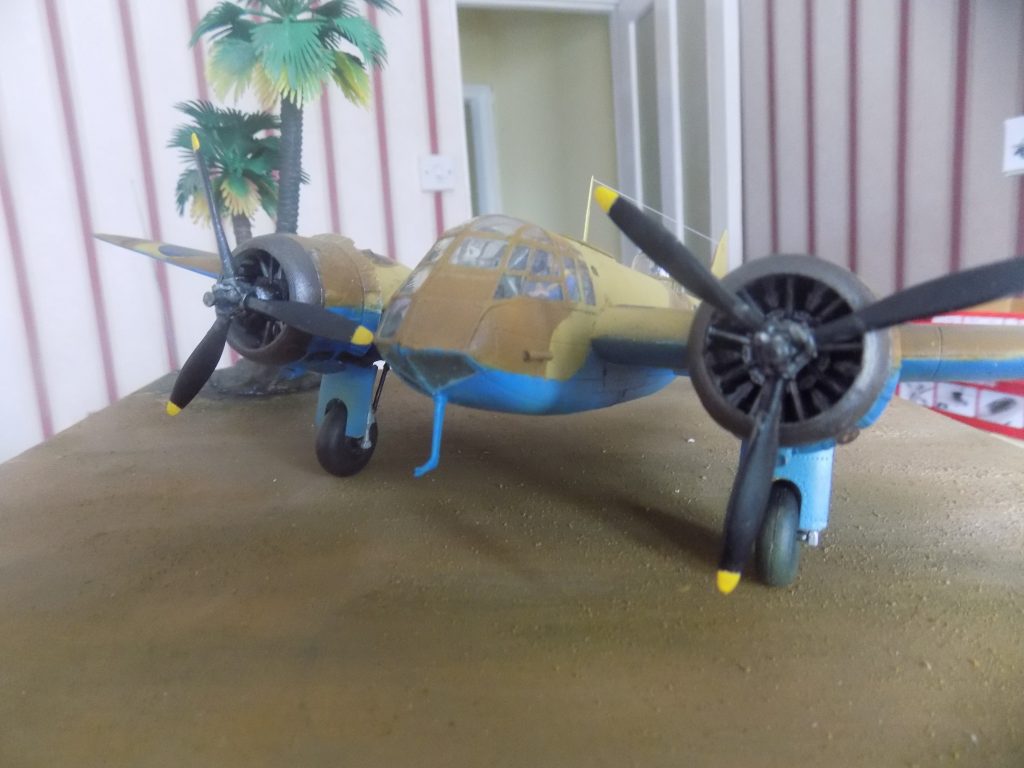
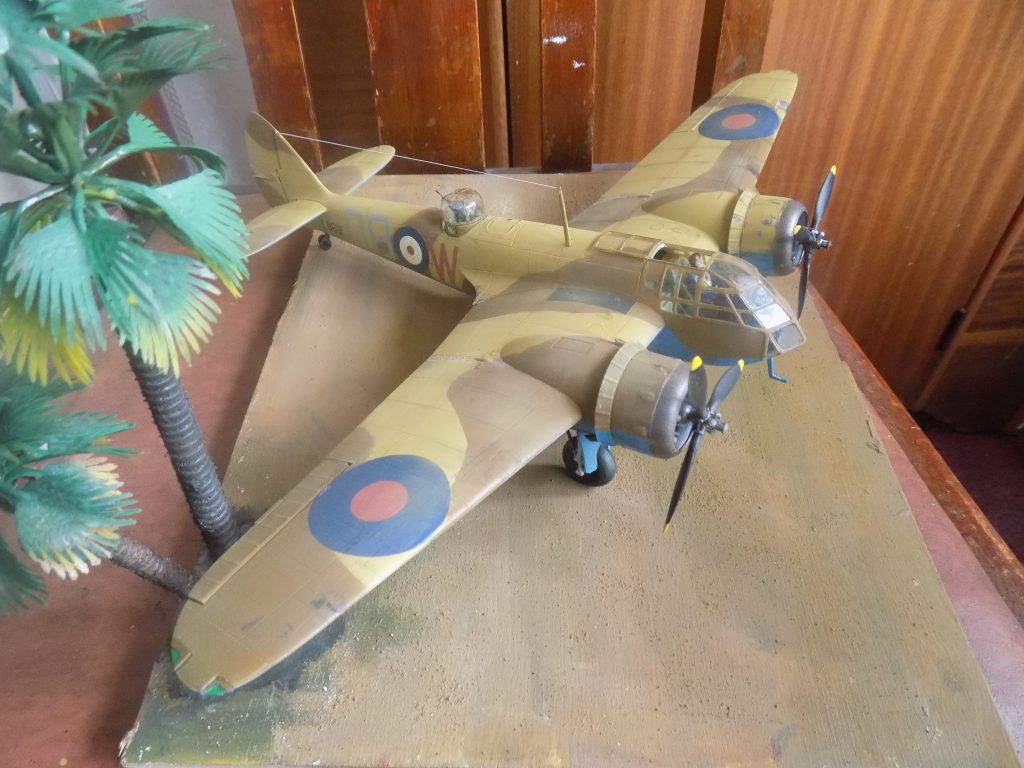
I have always considered the early type Blenheim a rather ugly looking aircraft and much prefer the longer nose Mk IV version but when I saw a review of this all-new kit by Airfix I was sold! The moulding quality appeared to be a lot better than some of their recent releases with very good surface details particularly on the wings which have very fine panel lines and rivets both raised and recessed. I have shown a number of photos of different stages of the build process to convey something of the above average complexity of this kit.
It was the first modern bomber to be delivered to the RAF and one of the first aircraft to use all-metal, stressed-skin construction, powered gun turret, retractable landing gear, flaps and variable pitch propellers.
Despite these advantages, the Blenheim stood little chance against the German Messerschmitt Bf109 during daylight operations and was soon relegated to a night fighting role.
The Blenheim was one of the stop-gap bombers that the RAF had to use until the new generation of ‘heavies’ came into service such as the Avro Lancaster.
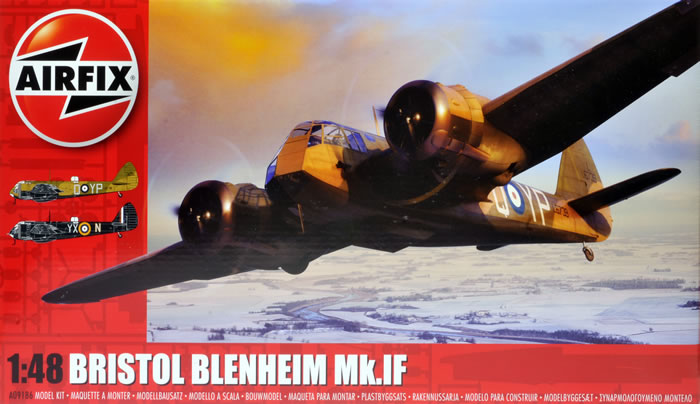
Here is what Len Deighton has to say about the Bristol Blenheim IF in his book, ‘Battle of Britain’:
‘This unfortunate aircraft was an attempt to operate a long-range heavy fighter variant of the Blenheim light bomber. Equipped with four Brownings in a ventral pack under the fuselage, one gun in a rear turret and one in the port wing, it was hopelessly slow and clumsy in action against German fighters. Even when transferred to a night fighter role, it proved too slow to catch most German bombers to which it was vectored. The seven Blenheim squadrons in Fighter Command on 1 July 1940 could play little part in the Battle. Their fate showed the futility f the Air Ministry doctrine that it was better to put anything into the air than nothing.’

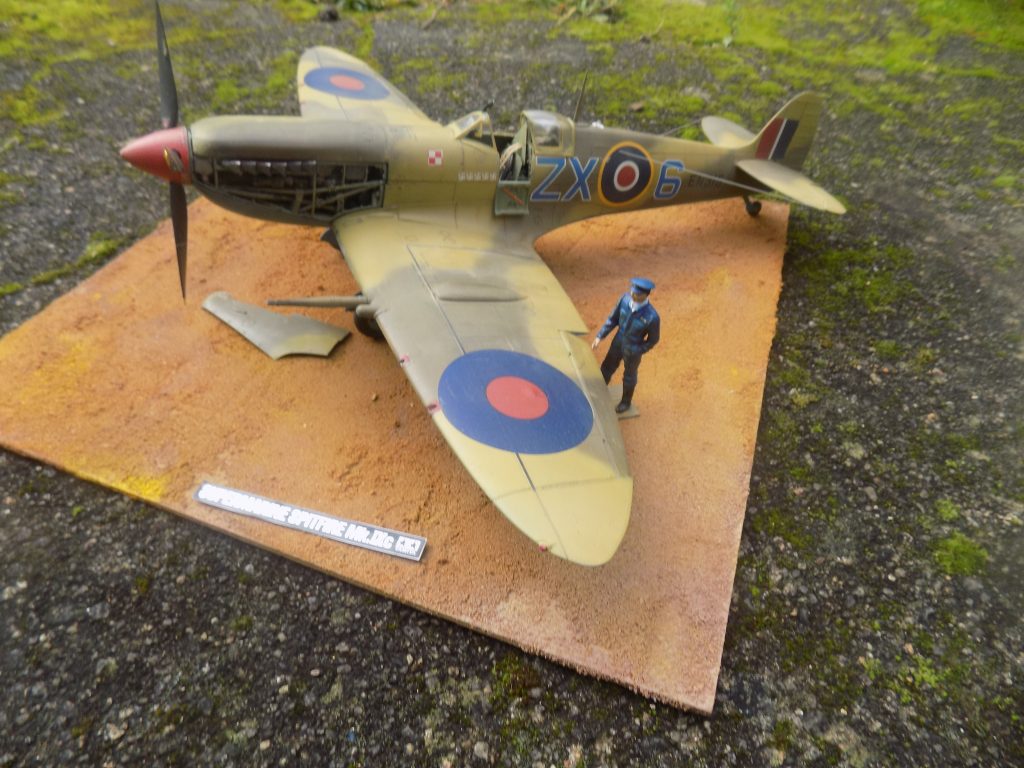

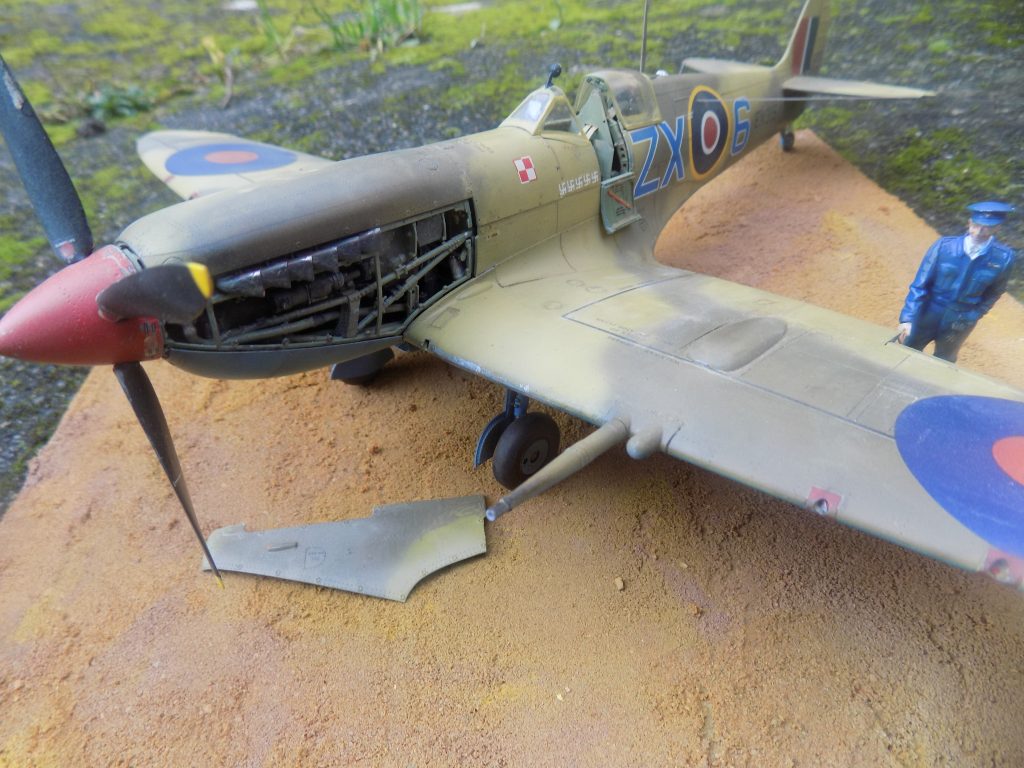
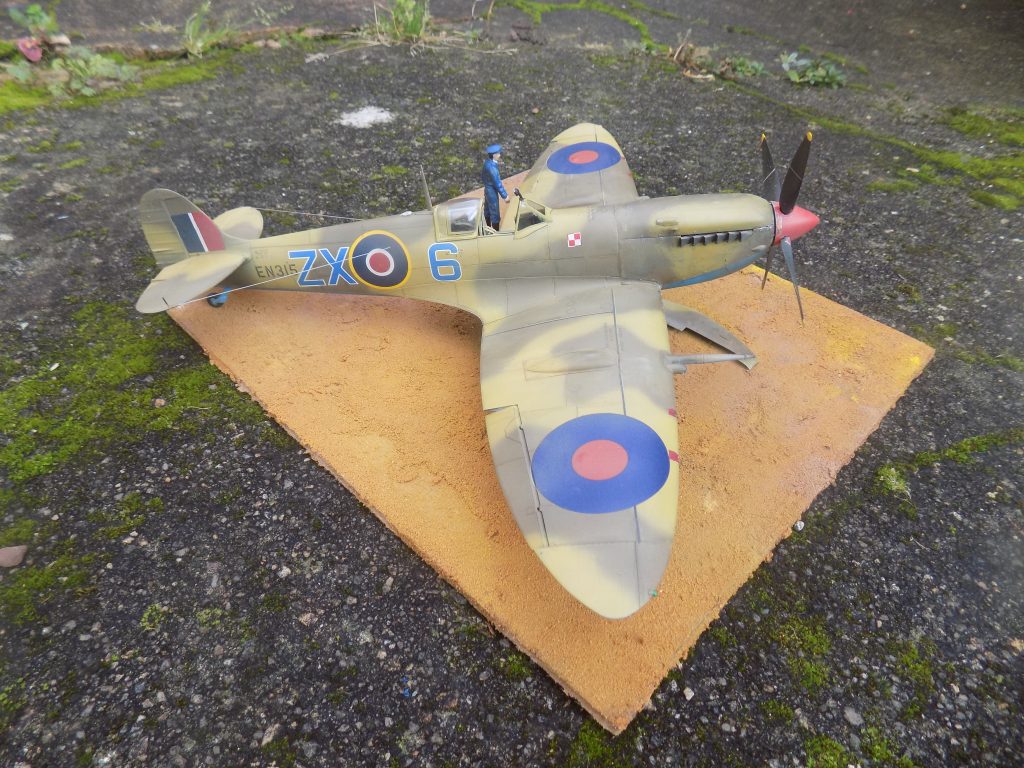
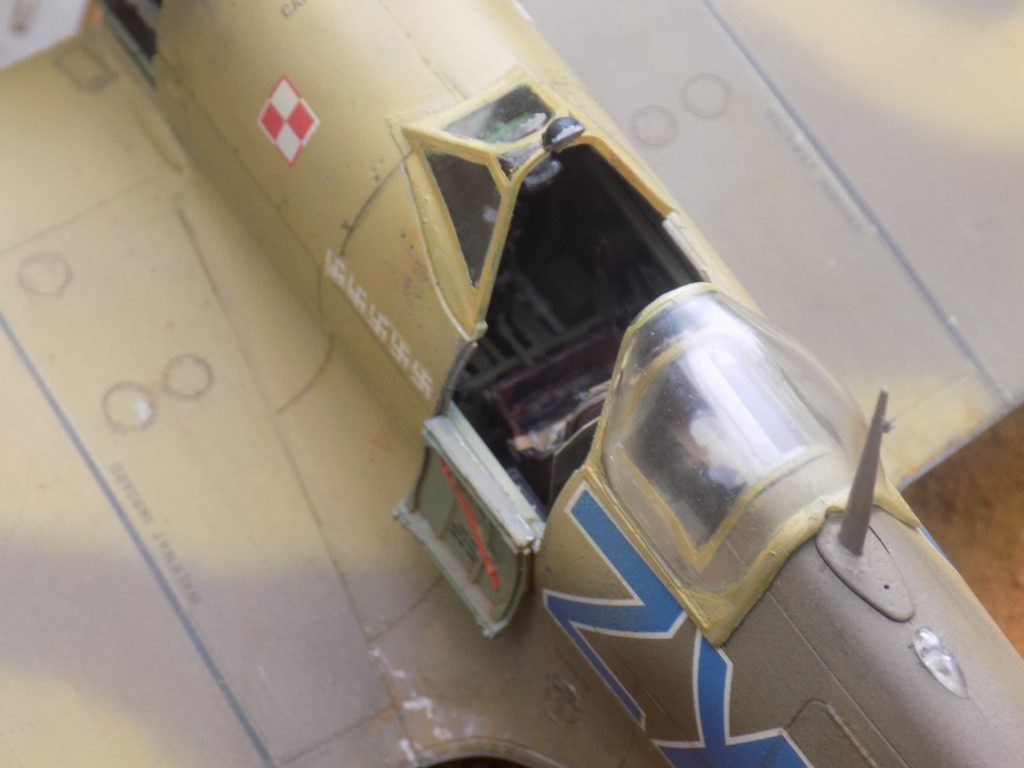
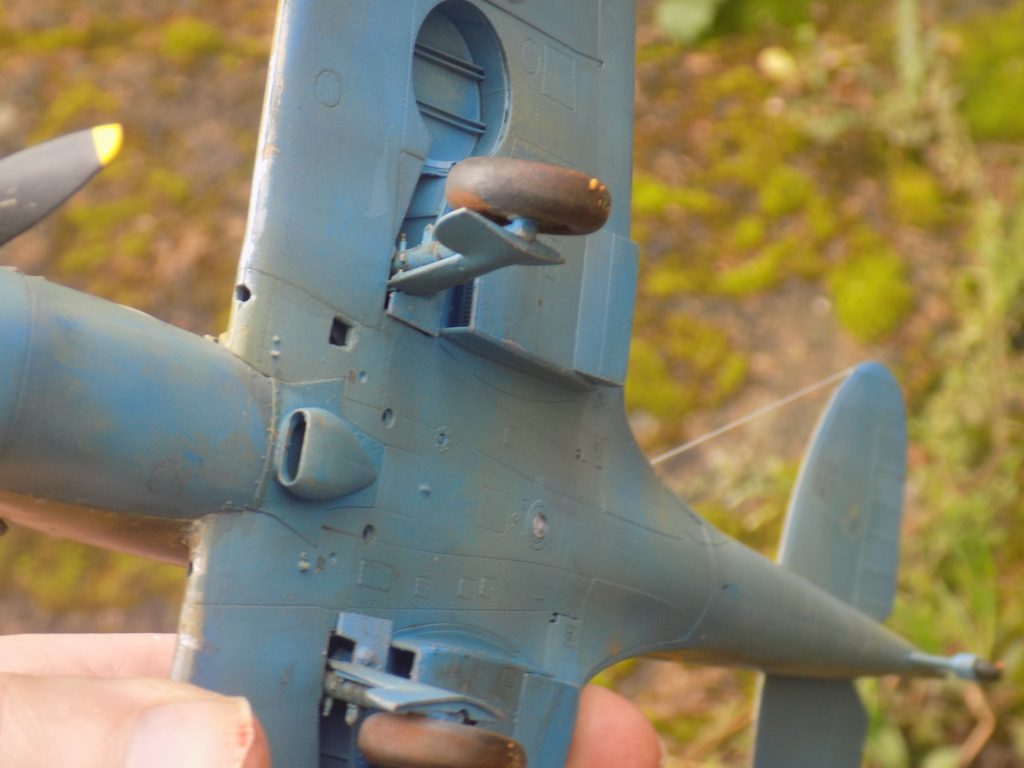
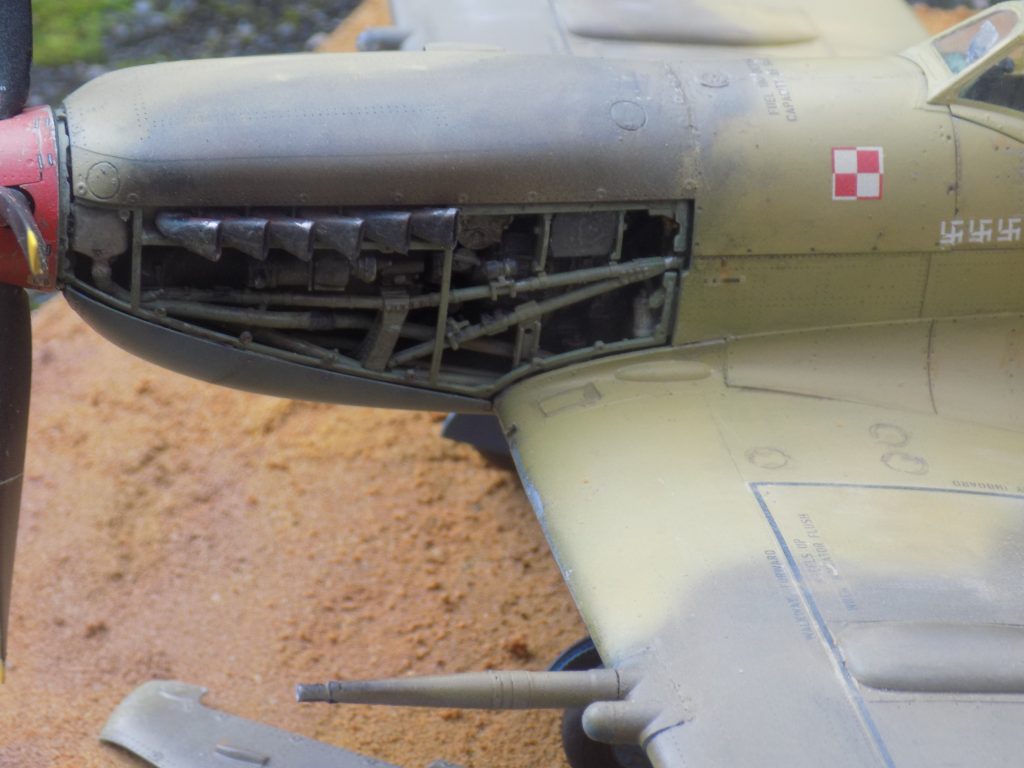
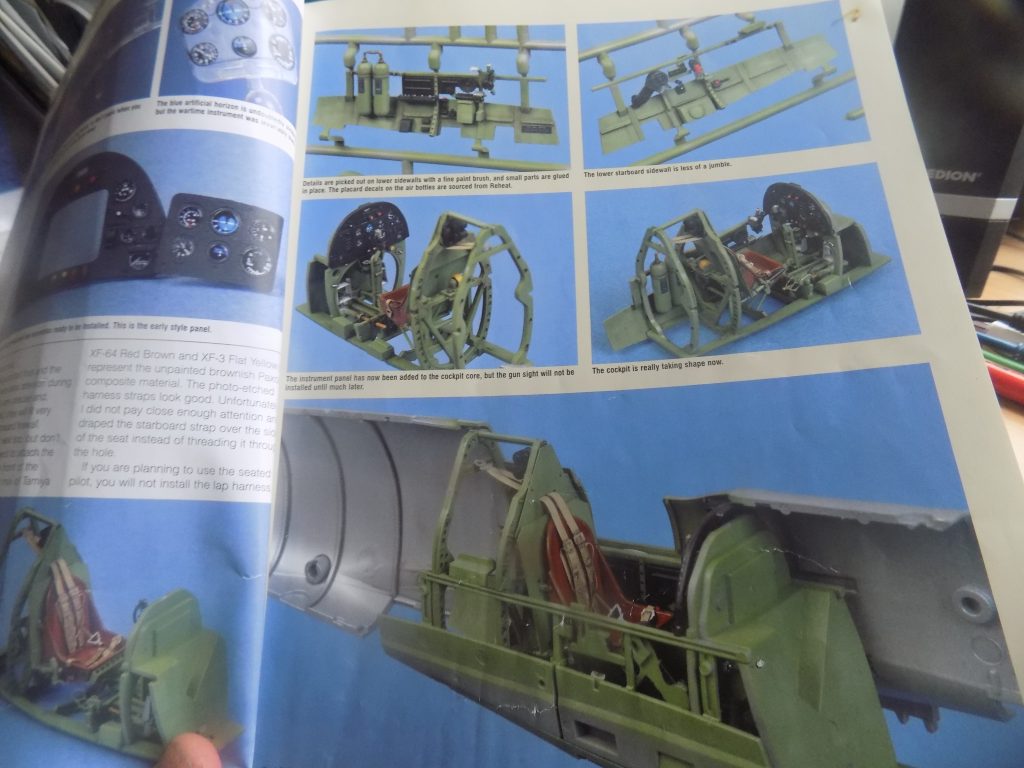
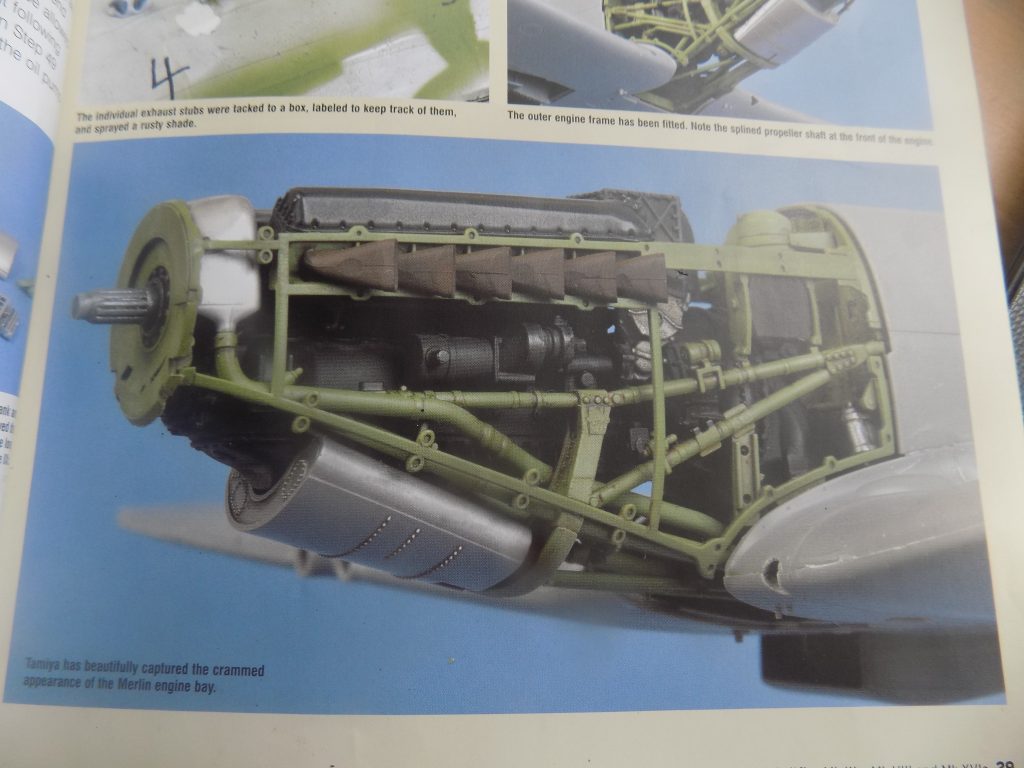
This was my first ever Tamiya 1 32 model and it was a sheer joy to build! The kit exudes sheer luxury and the level of detail is extraordinary. Everything fits perfectly and you end up with a wonderful display model straight out of the box (OOB). I chose the tropical scheme rather than the dark grey/green shown on the box top as it’s one of my favourites.
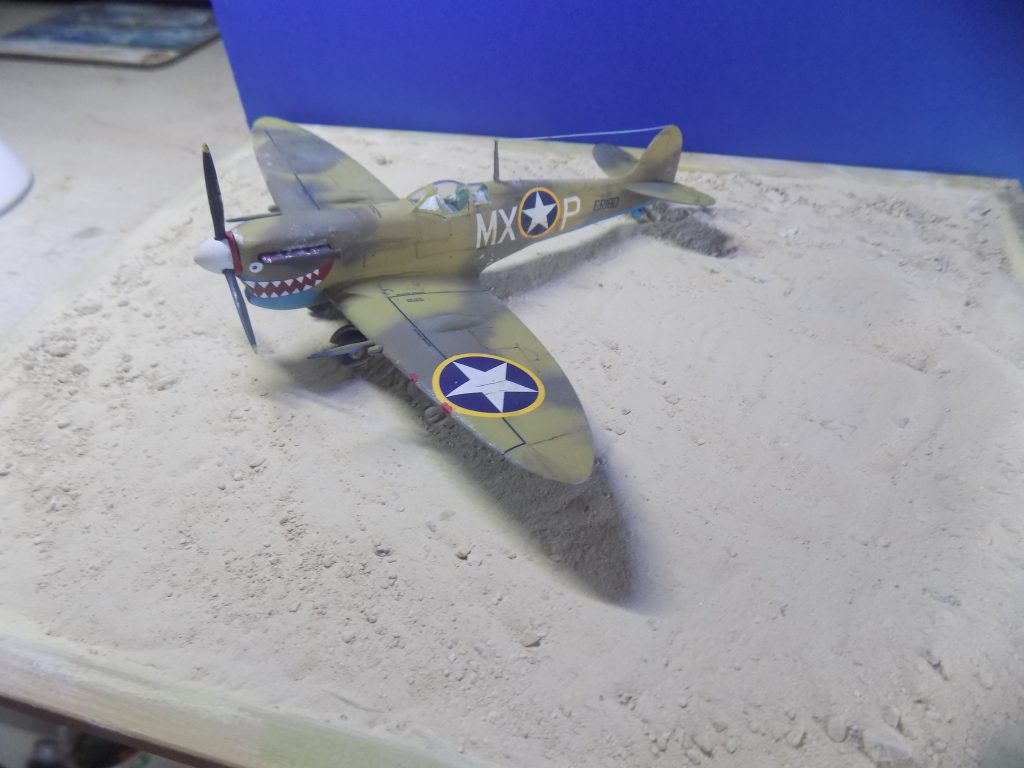
The Merlin 61 engine was fitted to the existing Spitfire Mk.V variant to match the performance of the newly encountered German Fw190s. It retained the same sleek lines of earlier Marks but the body of the aircraft was elongated by 9 inches to accommodate the new engine which incorporated a two-stage supercharger. The Mk IX also added 70 mph to the Spitfire’s top speed and 10,000 ft to its fighting altitude.
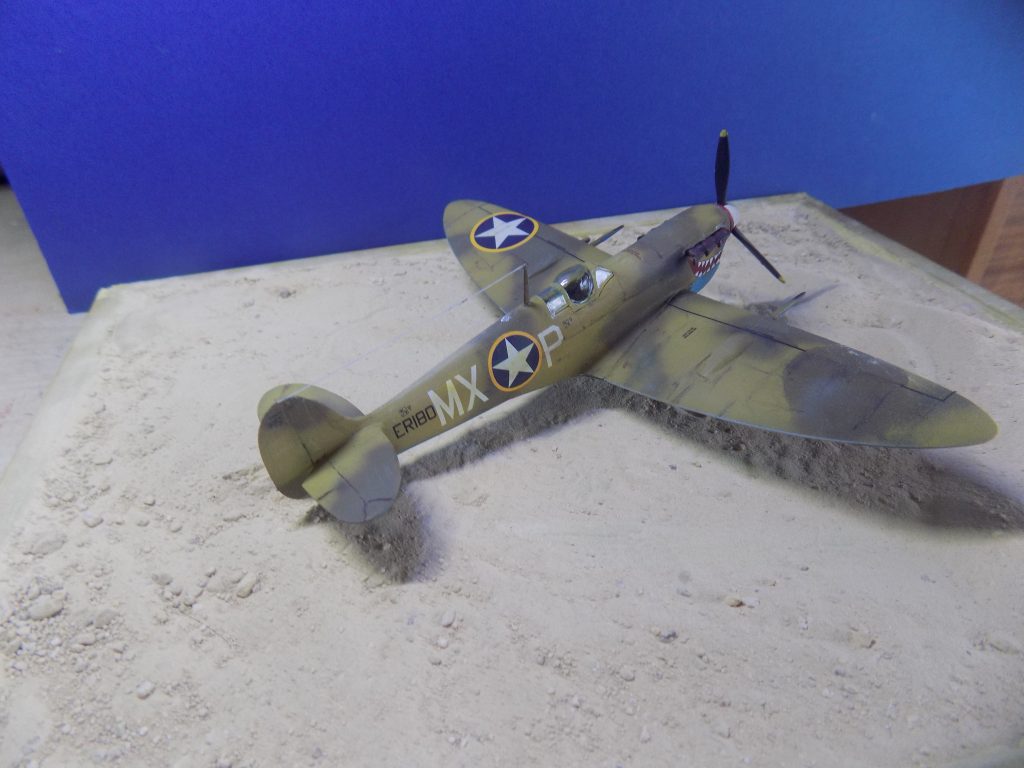
A four-bladed propeller was added to handle the astonishing 20% increase in power.
The Spitfire Mk IX became the most numerous and arguably the greatest variant of this legendary aircraft with more than 7,000 delivered to the RAF, Soviet and other Allied air forces.